Meta Description: Remote desk life chair adjustments don’t need to be complex. 6 easy adjustments that alleviate back strain and enhance ergonomics for at-home workers.
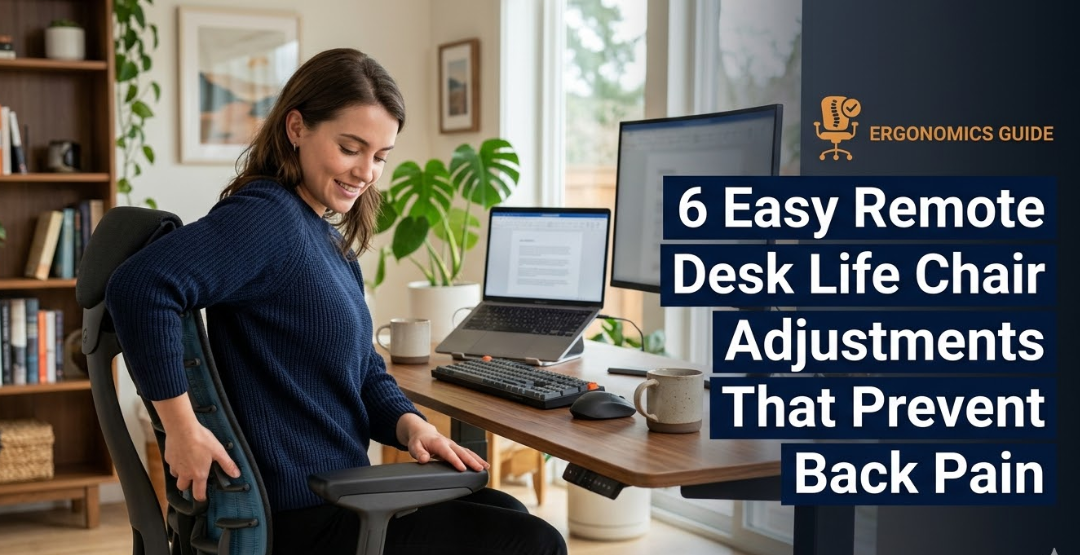
6 Desk Chair Adjustments That Prevent Back Pain While Working From Home
Today, back pain is one of the most common complaints of remote workers. If you sit at a desk for hours, your chair setup may be silently hurting you — whether or not you notice it immediately.
The good news? You don’t need a shiny new chair. Smart adjustments to your remote desk life chair make a huge impact. These adjustments require no money and less than 10 minutes, yet can save your spine for years.
This guide details exactly what to change, how to do it, and why it works.
Why Your Chair Is the Most Important Thing in Your Home Office
The majority of remote employees stare into their monitors or keyboards. But your chair is the bedrock of all of it.
When your chair is poorly set up, your spine curves chronically in the wrong direction. Your muscles are working double time just to keep you upright. And over time, that causes stiffness, soreness, and sometimes serious injury.
A properly adjusted chair, however, accommodates the natural shape of your body. It relieves pressure on your spine and allows your muscles to relax. You stay focused longer. You take less pain with you into the end of the day.
The following six adjustments address every component of a typical office chair. Not all of them need to be perfect — but getting three or four of these right can radically alter how your body feels at the end of a long workday.
Adjustment 1: Make Sure Your Seat Height Is Right First
Seat height is the first adjustment — everything else follows from that. If this is not right, nothing will feel right.
Finding the Right Height
Sit and plant both feet flat on the floor. Your knees need to make a 90-degree angle — not higher than your hips, not lower. Your thighs should be approximately parallel to the ground.
If your feet dangle, your seat is too high. If your knees are pushed up to your chest, it’s too low.
The lever for most office chairs is located under the seat. Press it while standing to lift the chair, or while sitting to lower it.
Why It Matters for Your Back
If your seat is too high, you slouch forward. When it’s too low, your hips rock back and your lower back rounds. Either position puts pressure on your lumbar discs.
The right height keeps your pelvis neutral — the basis of good posture.
Pro tip: Get a footrest if you’re working with a standing desk. It allows you to maintain this 90-degree angle without having your entire chair lowered.
Adjustment 2: Position Your Lumbar Support Where It Actually Works
The lumbar area is the curve of your lower back. Most office chairs come with a built-in lumbar support or a separate cushion. But most people place it in the wrong spot.
Where to Position It
Position the lumbar support in the natural inward curve of your lower back — roughly at your belt line or just above it. You should sense a light pressure inward, not a jarring thud or no pressure whatsoever.
If your chair has adjustable lumbar support, raise or lower it until it fits snugly into that curve without forcing your back to arch uncomfortably.
What Happens Without Proper Lumbar Support
Without support, most people slouch. The lower back rounds outward. Your vertebrae compress the discs unevenly. Over hours and days, this creates chronic pain and stiffness.
Good lumbar support allows your spine to keep its natural S-curve, which distributes weight evenly across your vertebrae.

Adjustment 3: Adjust Your Armrests to Save Your Shoulders and Neck
Many remote workers overlook their armrests. That’s a mistake.
When your arms have no support, your shoulder muscles are working constantly to keep your arms up. This compresses your neck and upper back over time.
The Right Armrest Position
Your elbows should be bent at roughly a 90-degree angle on the armrests. You should feel no tension in your shoulders — they shouldn’t be shrugged up toward your ears.
Most armrests have a button beneath them to raise or lower. They may also pivot inward or outward, or slide forward and back.
Position them so your arms drape naturally down at your sides, and your elbows rest on the pads without you having to reach up or slump down.
A Common Remote Desk Life Chair Mistake
Most people adjust their armrests too high. This lifts the shoulders, which creates strain across the upper back and base of the skull. If you experience tension headaches at work, check your armrests first.
Quick test: Let your arms hang completely limp. Do your elbows touch the pads? If so, you’re in the right area.
Adjustment 4: Make Sure Your Seat Depth Is Suitable for Knee and Hip Health
Seat depth refers to how far out the seat pan goes. It’s one of the least-discussed remote desk life chair adjustments — and one of the most important.
How to Measure the Appropriate Depth
Take a seat fully — so your back touches the backrest. Then, check for a gap between the back of your knees and the front edge of the seat.
You should have two to three finger-widths of space. If the edge of the seat presses into the back of your knees, it is too deep. If the gap is too large, it might be too shallow.
Why Seat Depth Affects Your Lower Back
If a seat is too deep, you cannot sit all the way back. You wind up perching on the edge, which removes all lumbar support and rocks your pelvis to an extreme backward tilt. This rounds your lower back.
With the seat depth just right, you can sit fully supported from your tailbone to your upper back — precisely where you should be.
A lot of chairs let you slide the seat pan forward or backward. If yours lacks this feature, a small lumbar pillow can compensate for a seat that’s just a bit too deep.
Adjustment 5: Angle Your Backrest Correctly
The majority of people sit upright, believing that’s the healthiest posture. Research actually says otherwise.
The Ideal Backrest Recline
A backrest angle of 100 to 110 degrees — a slight backward lean — decreases compressive forces on the lumbar discs more than sitting straight up. It enables your spine to distribute pressure more uniformly.
Sitting at a right angle or leaning excessively forward puts huge pressure on the same discs. A gentle recline allows gravity to help support your torso instead of working against it.
How to Adjust Your Backrest Tilt
On most chairs, you’ll find a tension knob or lever near the base of the seat. Loosen the tension so the chair tilts back slightly when you lean. Then lock it in your desired position.
You don’t want to recline so far that you’re reaching forward for your keyboard. A small lean — about 10 to 15 degrees past upright — is enough to take meaningful pressure off your lower back.
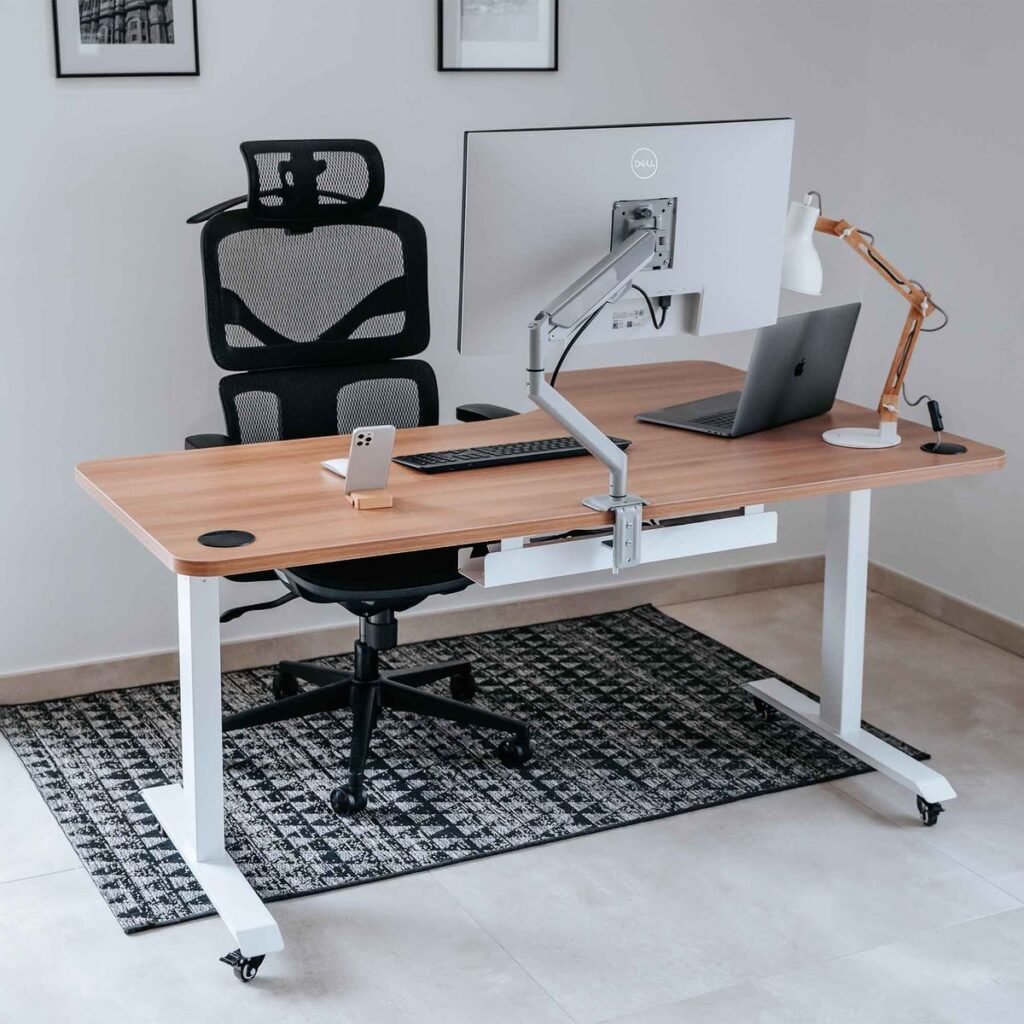
Adjustment 6: Match Your Monitor Height to Your Chair Setup
This final adjustment isn’t technically part of your chair, but it’s the finishing touch. The height of your chair defines where the monitor needs to be — get this wrong, and your neck and upper spine are forced to compensate.
The Right Monitor Position
The top of your screen should be at or just slightly below eye level. When you look straight ahead, your eyes should naturally land in the top third of the screen.
If your monitor is too low, you spend all day tilting your head down. If it’s too high, you tilt it back. Both positions strain the cervical spine and surrounding muscles.
How Your Chair Ties Into This
Once you have your seat height set, check where your eyes naturally fall. If your monitor is a laptop sitting on a desk, you almost certainly need to lift it higher. A laptop stand or a pile of books does the trick. Use an external keyboard and mouse so your arms stay at the right angle.
This is one of the most missed remote desk life chair adjustments — because people don’t consider monitor placement to be part of chair ergonomics. But the two are intimately connected. Alter your chair height and you need to alter your monitor height too.
For more tips on building a productive and pain-free home office, visit Remote Desk Life — a dedicated resource for remote workers looking to optimize their workspace setup.
Quick Reference: All 6 Adjustments at a Glance
| Adjustment | Target Position | Common Mistake |
|---|---|---|
| Seat height | Knees at 90°, feet flat | Too high — causes forward hunch |
| Lumbar support | At lower back curve, belt-line level | Too low — misses the spine |
| Armrests | Elbows at 90°, shoulders relaxed | Too high — creates shoulder tension |
| Seat depth | 2–3 finger gap behind knee | Too deep — forces perching on edge |
| Backrest tilt | 100–110° recline | Dead upright — increases disc pressure |
| Monitor height | Top of screen at eye level | Too low — causes forward neck strain |
How to Perform a Complete Chair Adjustment in Less Than 10 Minutes
You don’t have to do these one at a time over many days. Here’s a direct order that lets you set everything up quickly.
Start with seat height. Feet flat on the floor, knees at a 90-degree angle. Everything else builds from this.
Next, adjust your lumbar support. Lean all the way back and find where your lower back curves inward. Set the support right there.
Then set your armrests. With your arms relaxed at your sides, adjust the pads up or down until your elbows fall naturally at a 90-degree angle.
Check your seat depth. Adjust the seat pan so you have two to three finger-widths of space behind your knees.
Set your backrest tilt. Release the recline mechanism and allow yourself to settle into a slight backward lean — 100 to 110 degrees.
Finally, adjust your monitor. With your new chair height set, raise or lower the screen until its top edge meets your eye level.
That’s it. Ten minutes, six steps, and your chair is now set up to protect your spine.
Signs Your Chair Setup Is Already Hurting You
Even if you’re feeling fine right now, here are warning signs that your remote desk life chair adjustments are overdue:
- Stiffness in your lower back when you stand up after sitting
- Tightness or aching across your upper shoulders during work
- Headaches that begin at the base of your skull
- Numbness or tingling in your legs or feet
- Neck pain after video calls
- Having to shift position constantly just to get comfortable
Any of these symptoms after a day of remote work is your body saying the setup isn’t right. Start with seat height and lumbar support — those two alone solve most common complaints.
What to Do If Your Chair Doesn’t Adjust Enough
Not all chairs are fully adjustable. If yours is limited, here are a few simple workarounds:
If your seat is too high and won’t go lower, add a footrest to elevate your feet to the right level. A firm foam block or a small step stool will do.
If your chair lacks lumbar support, a rolled-up towel or a small pillow behind your lower back works surprisingly well. You can even purchase a separate lumbar cushion for under $20.
If your armrests don’t adjust, try placing a wrist rest on the surface of your desk. It won’t fix the shoulder position completely, but it takes some load off the upper body.
If your monitor is too low, raise it. Laptop stands, monitor risers, or even a firm stack of books will do. Use an external keyboard to keep your arms in the right position.
None of these substitutes compare to a fully adjustable ergonomic chair. But they can ease pain and strain significantly while you work with what you have.
FAQs About Remote Desk Life Chair Adjustments
Q: How often should I adjust my chair? You don’t have to readjust every day. Once you’ve found your right settings, they should remain unchanged unless you change your desk height, switch chairs, or work in a different position. Re-check every few months or if pain returns.
Q: Can a bad chair do permanent damage to your back? Years of poor posture can lead to disc degeneration, chronic muscle imbalances, and spinal alignment issues. The good news is that most discomfort from poor ergonomics is reversible, especially if caught early. These six remote desk life chair adjustments will go far toward that goal.
Q: Is sitting at 90 degrees the best posture? No. Studies find that the most relieving angle is a slight recline between 100 and 110 degrees, which places less pressure on lumbar discs than sitting bolt upright. Perfect posture is not stiff — it’s relaxed and slightly leaned back.
Q: How long before I see results after adjusting my chair? Most people find stiffness decreases within a couple of days. Full relief from chronic muscle tension can take one to two weeks, as the muscles need time to relearn how to relax. Consistency is key — these adjustments only work if your chair stays properly positioned.
Q: Do I need an expensive ergonomic chair? Not necessarily. Most mid-range chairs ($100–$300) offer all the adjustments you need. The trick is to use the adjustments you have, not pay for features you don’t configure. A $600 chair set up wrong is worse than a $150 chair set up right.
Q: What if I sometimes work from a couch or kitchen table? Occasional non-desk work is fine. But if you often work from a couch or at a table with a non-adjustable chair, your spine will know it. At the very least, use a firm cushion behind your lower back and try to keep your feet flat on the floor.
Q: Should I stand more to help prevent back pain? Standing is helpful, but standing all day is no better than sitting all day. For remote workers, the most evidence-backed approach is to alternate between sitting and standing every 30 to 60 minutes. A sit-stand desk is ideal, but scheduled standing breaks work too. The Mayo Clinic’s guide to office ergonomics offers further guidance on healthy working postures.
The Bigger Picture: Adjustments Are Just the Start
It all starts with nailing your remote desk life chair adjustments. But ergonomics is about more than your chair.
Take regular breaks. Get up, stretch, and walk around for two minutes every 30 to 45 minutes. Movement keeps blood flowing to the discs and muscles in your spine.
Strengthen your core. Weak core muscles increase the load on the spine. Even basic exercises — like planks or bird-dogs, a few times a week — can make a big difference in how your back handles long work days.
Stay hydrated. The discs between your vertebrae are partially composed of fluid. Dehydration prevents them from absorbing shock effectively.
None of these replace the six chair adjustments mentioned above. But they work together to create a remote work setup that protects you for the long haul.
Conclusion: Small Adjustments, Big Results
Back pain is highly common among remote workers — but also quite preventable. The six remote desk life chair adjustments discussed in this article are free, fast, and confirmed by ergonomics research.
Start with seat height. Add lumbar support. Adjust your armrests, seat depth, backrest angle, and monitor. Get these right today — we’re talking ten minutes — and your back will thank you for years.
You don’t need a new chair. You don’t need a chiropractor. You just need the right setup — and now you have it.