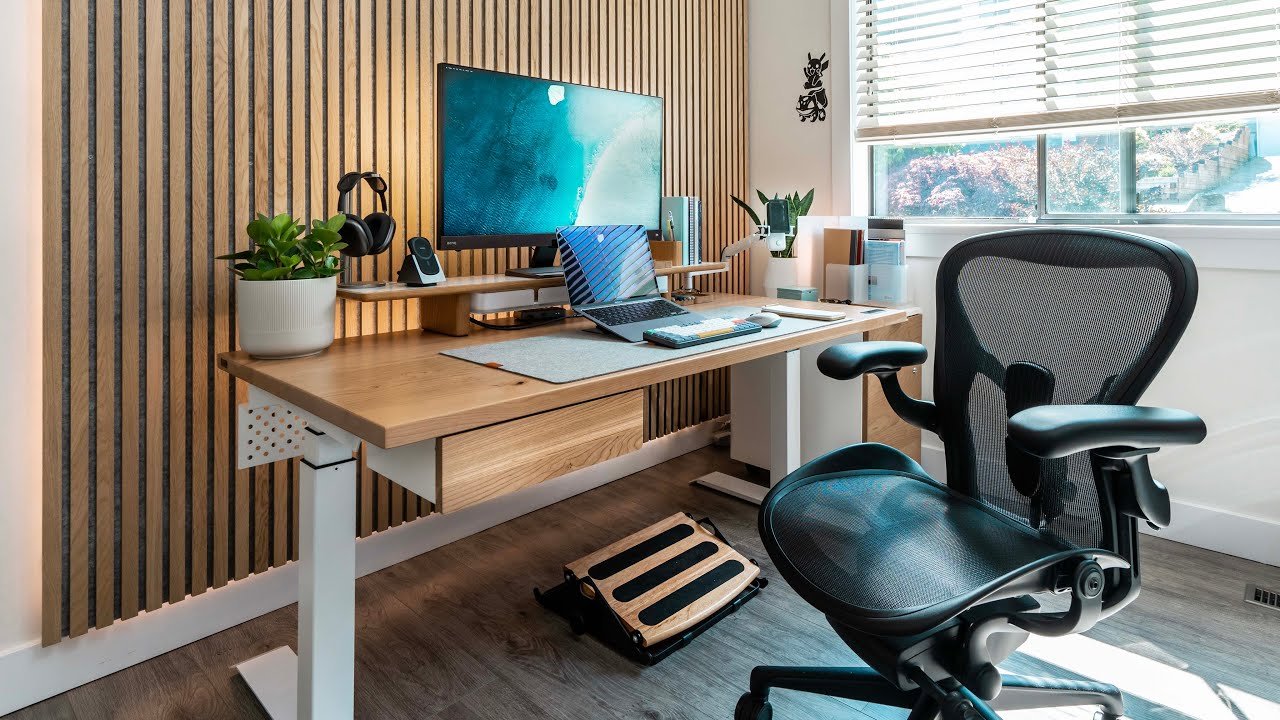
I’ll be honest — there was a point where I couldn’t even find my notebook on my own desk. Cables everywhere, sticky notes multiplying like rabbits, a half-empty coffee mug acting as a paperweight for three weeks straight. I worked from home, yes. But “worked” is generous. I was mostly just surviving the chaos.
It wasn’t until I took a photo of my desk one morning — just to send to a friend as a joke — that I actually saw how bad it had gotten. That photo was a wake-up call. I spent the next few weeks testing different organization strategies, buying some things, ditching others, and slowly building a system that actually stuck.
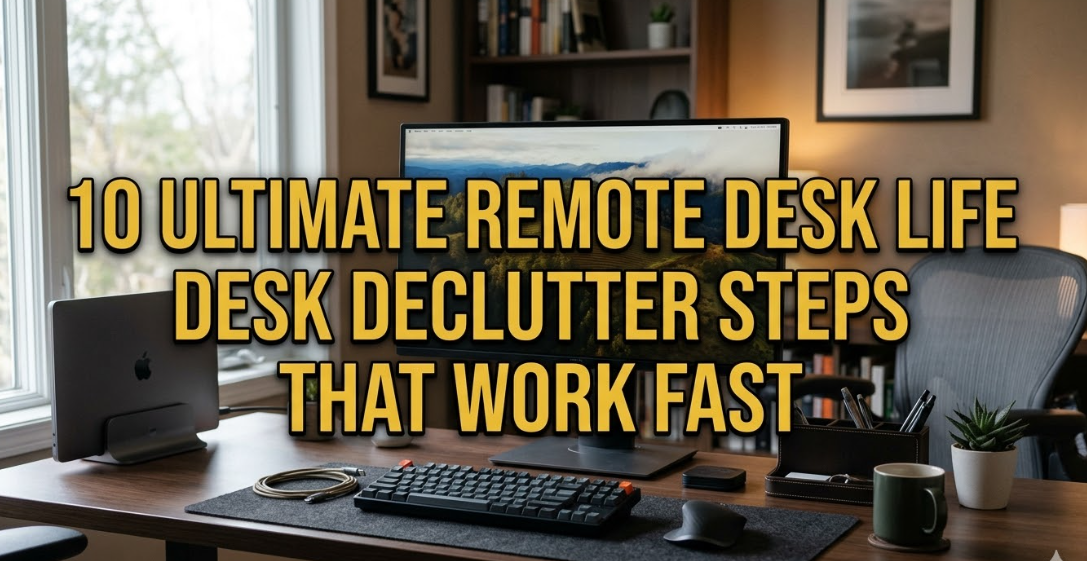
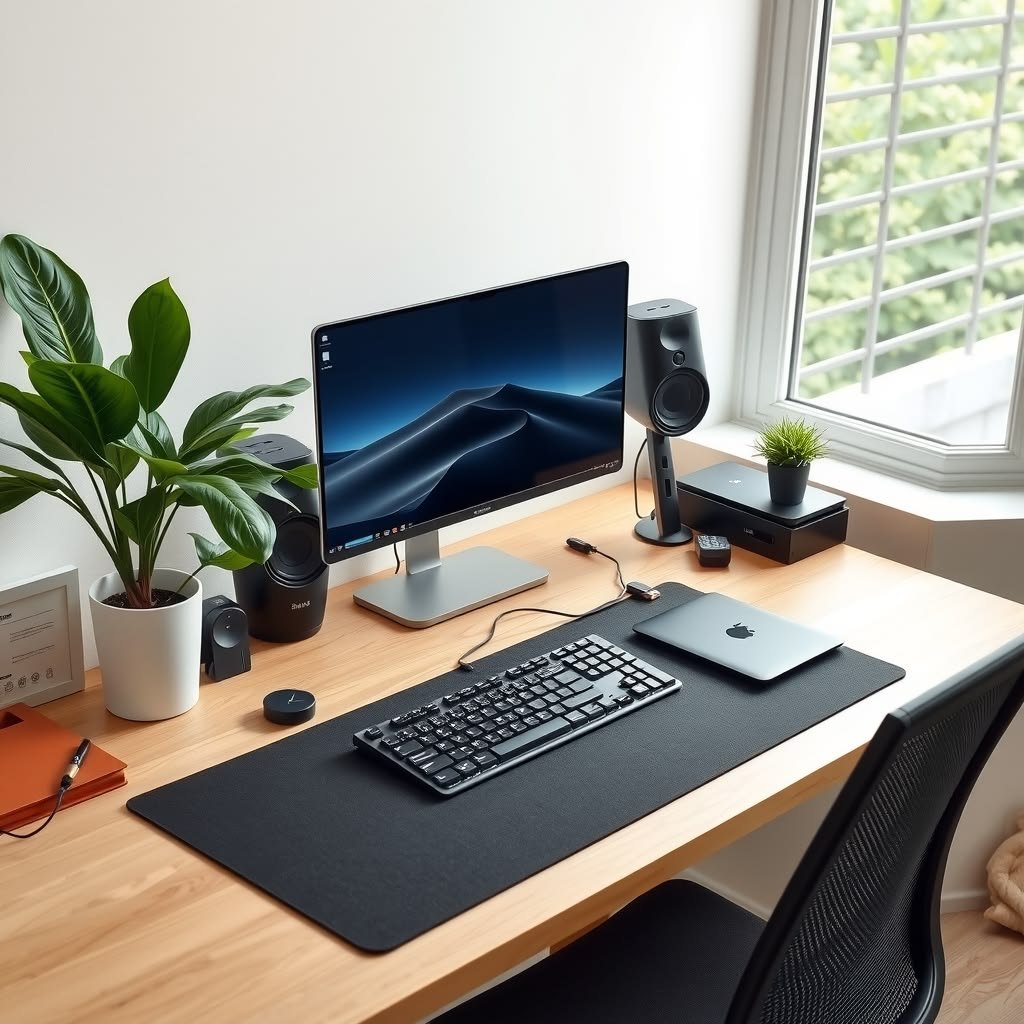
Here are the 7 hacks that genuinely made a difference. Not the Pinterest-perfect stuff — the real, practical things that cleared my head along with my desk.
1. The “One Surface Rule” Changed Everything
For the longest time, I treated my desk like a storage unit. Monitor here, keyboard there, but also: a mini fan, two chargers, a stack of papers I’d “deal with later,” and a wireless speaker I barely used.
The one surface rule is simple: your desk surface is only for things you actively use every single day. Everything else finds a home somewhere else — a drawer, a shelf, a cabinet, even a box in the closet.
I went through everything on my desk and asked one question: Did I use this yesterday? If the answer was no, it moved.
What stayed:
- Monitor, keyboard, mouse
- One notebook and one pen
- Water bottle
- Laptop stand (for calls)
What left:
- Decorative stuff (moved to a shelf behind me)
- Extra chargers (went into a drawer organizer)
- Paperwork (more on that below)
The first time I sat down to work with a cleared surface, I genuinely felt calmer. No joke. It’s like the clutter was creating mental noise I didn’t even notice until it was gone.
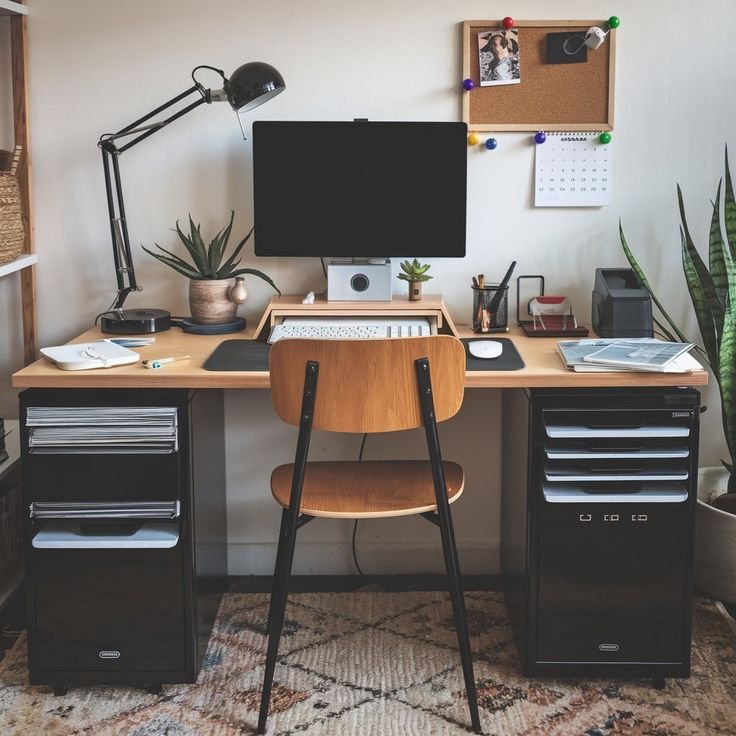
2. Vertical Space Is Free Real Estate — Use It
Most people think horizontally when it comes to desks. But once you start thinking up, a whole new world opens.
I added a simple monitor riser shelf (got mine from Amazon for under $30) and suddenly had storage space underneath my monitor. That’s where my hard drive, a small plant, and my USB hub now live — completely off the main desk surface.
Then I added a pegboard to the wall beside my desk. This is probably the single best thing I did for cable and tool organization. Hooks, small bins, and clips — everything has a spot. My headphones hang on it. My scissors and markers have their own little bin. My most-used notebook sits in a tilted rack on it.
Quick setup guide for a basic vertical system:
| Item | What It Solves | Approx. Cost |
|---|---|---|
| Monitor riser with shelf | Clears surface, adds storage | $20–$40 |
| Pegboard + accessories | Wall storage for tools & cables | $30–$60 |
| Floating wall shelf | Extra surface above desk | $15–$30 |
| Over-monitor shelf bracket | Holds speakers/small items | $20–$35 |
You don’t need all of these. Even one vertical addition makes a surprising difference.

3. Cable Management Is Not Optional — It’s Survival
This one took me way too long to take seriously.
I used to have a tangle of cables behind my desk that looked like a spaghetti nightmare. Power cable for the monitor, USB hub cable, laptop charger, desk lamp, external hard drive — all just piled and twisted together. Every time I needed to unplug something, I’d spend five minutes tracing which cable was which.
Here’s what actually worked for me, in order of impact:
Step 1: Velcro cable ties. Buy a pack of reusable velcro ties (I use the VELCRO Brand ones — a pack of 100 is like $8 on Amazon). Bundle cables that run together. This alone reduces visual chaos by 70%.
Step 2: A cable management box. This is a simple plastic or fabric box that sits on or under your desk and hides your power strip and excess cable slack. Huge visual upgrade.
Step 3: Cable clips on the desk edge. These little clips (3M makes good ones) stick to the edge or underside of your desk and hold cables in a fixed path so they don’t dangle or slide around.
Step 4: Label your cables. I use small sticky labels on each cable right where it plugs in. Sounds basic, but it means I never unplug the wrong thing again.
One thing I wish I’d done from day one? Run cables before setting everything up, not after. If you’re reorganizing, take everything off the desk first, set up your cable routes, then put things back.
If you’re also rethinking how everything on your desk is placed, this article on 5 Smart Remote Desk Life Desk Layouts That Boost Productivity gave me some useful perspective on thinking about the desk as a whole system rather than individual items.
4. The Paper Problem: Go Digital or Go Drawer
Paper was my biggest enemy. Invoices, to-do lists, random notes, printed emails (yes, I was that person), sticky notes stuck to sticky notes.
Here’s the reality: most paper on a remote worker’s desk doesn’t need to be on the desk. It either needs to be filed, digitized, or thrown away.
I spent one Saturday afternoon doing a full paper audit:
- Actionable stuff (things I actually needed to do something with): went into a small A4 tray on my desk — one tray, nothing more
- Reference documents: scanned with my phone using Adobe Scan (free app, works great) and saved into organized folders on Google Drive
- Old notes and random pages: 90% went in the bin
For ongoing notes, I switched to Notion. I know some people hate digital note-taking, but for me, having a single searchable place for everything beat having seventeen sticky notes and three different notebooks. My desk now has exactly one physical notebook for quick hand-written notes during calls.
The sticky note situation? I still use them — but now I have a strict rule: no more than five sticky notes on my desk at once. When a new one goes up, an old one has to come down (either done or moved to Notion).
5. Drawer Organizers: The Unsexy Hack That Works
I resisted this one for ages because it felt too boring to bother with. Drawer organizers? That’s what your grandma does with kitchen utensils.
Turns out, my grandma was onto something.
I have two desk drawers. Before organizers, they were just black holes where things went to die. Pens, USB sticks, business cards, a phone I replaced two years ago, some batteries I hoped were still charged — all just rattling around in the dark.
I bought a bamboo expandable drawer organizer (around $15 from IKEA, similar ones on Amazon) and divided the top drawer into zones:
- Writing tools zone: Pens, markers, highlighters — all upright in small cups
- Tech zone: USB sticks, SD cards, small adapters — in individual compartments
- Daily use zone: Post-its, paper clips, small scissors
Bottom drawer became my “cold storage” — things I need occasionally but not daily. Extra cables, spare notebooks, chargers for devices I use sometimes.
Now when I open a drawer, I can actually find what I’m looking for in under five seconds. That sounds small. It is not small. Over weeks and months, those five seconds saved multiply into actual mental energy.
6. Set Up a “Trigger Zone” for Starting Your Day
This one’s less about physical organization and more about how you use your space — but it made a real difference in how quickly I’d get into focus mode.
The idea is to designate a small area of your desk as your “start of day zone.” For me, it’s the top-left corner of my desk. That’s where I put:
- My physical to-do list for the day (written the night before)
- My water bottle
- My phone, face down
When I sit down in the morning, if those three things are in that corner, my brain knows: we’re working now. It sounds almost too simple, but it creates a small ritual that replaces the “okay, where do I even start” paralysis.
I pair this with a rule: before I end my workday, I reset the desk. Papers go back to their tray, pens go back in their holder, and that trigger zone is prepped for tomorrow. It takes about three minutes and means I never start a day staring at yesterday’s mess.
If you’re building out more structure around your full workday setup, these 11 Powerful Remote Desk Life Setup Essentials Every Remote Worker Needs are worth a look — some of these are things I added over time and genuinely use daily.
7. Do a Weekly 10-Minute Reset (Non-Negotiable)
All of the above will slowly fall apart without maintenance. I learned this the hard way — twice.
The first time I organized my desk properly, I felt great for about three weeks. Then gradually, things crept back. A charger left on the desk. Papers not filed. Cables slipping loose. Four weeks later, I was back to chaos.
The fix is a weekly reset. Every Friday afternoon, I set a 10-minute timer and do a quick sweep:
- Clear everything that doesn’t belong on the surface
- File or trash any papers in the tray
- Re-coil and re-route any cables that have shifted
- Empty and wipe down the desk surface
- Reset the trigger zone for Monday morning
Ten minutes. That’s it. The key is making it non-negotiable — it goes on my calendar like a meeting, and I don’t skip it.
The first time I did this reset after rebuilding my system, I realized it was actually kind of satisfying. Almost meditative. You sit down Monday morning and the desk is exactly as you left it — clean, ready, intentional.
Common Mistakes I Made (So You Don’t Have To)
Buying storage before decluttering. I did this. Bought a bunch of bins and organizers before actually reducing what I owned. Ended up with organized clutter. Declutter first, then shop.
Trying to do it all in one day. The first big reorganization I tried, I burned out halfway through and left everything in a worse state than before. Break it into phases: surface one day, cables another, drawers another.
Ignoring the floor. Bags, shoes, boxes, the cat’s favorite spot — the area around your desk matters too. A clear floor = a calmer space. I added a small basket next to my desk for bags and headphones when not in use.
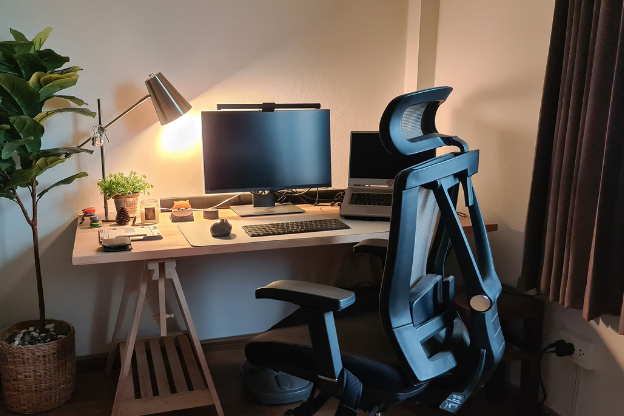
Going too minimal. I tried the “completely empty desk” look once. Hated it. Felt sterile and oddly stressful. A small plant, a nice mug, one personal item — these things make the space yours without creating clutter.
A Simple Framework to Remember
Here’s a quick reference I built for myself — it’s the mental model I use now when something new lands on my desk:
| Question | If Yes | If No |
|---|---|---|
| Do I use this daily? | Keep on desk | Move off desk |
| Is this actionable this week? | Keep in tray | File or trash |
| Does this have a designated spot? | Put it there | Create a spot or remove |
| Would I notice if this disappeared? | Keep | Probably don’t need it |
Run anything new through these four questions and your desk stays manageable almost automatically.
The Unexpected Benefit Nobody Talks About
When I finally got my desk consistently organized, the thing that surprised me most wasn’t the productivity boost (though that was real). It was the fact that I wanted to go to my desk in the morning.
Before, there was this subtle dread. The clutter was a visual reminder of unfinished things, pending decisions, accumulated stuff. A cleared desk removed that psychological weight.
I started taking my work more seriously because my space took itself seriously. That’s not something I expected from buying a drawer organizer and some velcro ties — but here we are.
If you’re dealing with a tiny space on top of everything else, this piece on 7 Essential Remote Desk Life Workspace Setup Tips for Small Homes has some really practical ideas specifically for when square footage is the limiting factor.
Start with just one of these — the one surface rule or the weekly reset are the easiest entry points. You don’t need to do all seven at once. Pick the one that addresses your biggest current pain point, get that working, then add the next.
Your desk is where you spend a significant chunk of your life. It deserves a bit of intention.
Also worth reading: 9 Easy Remote Desk Life Decluttering Rules for Remote Workers — if the clutter situation feels overwhelming, this one breaks it down into really manageable steps.