Okay, real talk — I used to work from a corner of my bedroom with a laptop balanced on a stack of books, a coffee mug that had no business being that close to my keyboard, and cables going literally everywhere. My “desk” was more of a controlled disaster zone. And every single morning, I’d spend the first 15 minutes just finding things before I could actually start working.
If that sounds familiar, you’re in the right place.
Working from a small home office is a completely different beast than working in a corporate setup. You don’t have a facilities team to organize your cables or an IT department to set up your monitor. It’s all on you — and when space is tight, clutter builds up fast.
Over the past couple of years, I’ve tried basically everything. Some things were game changers. Some were a total waste of money. Here’s what actually worked.
1. Start with a Full Desk Purge (Yes, Everything Off)
Before you organize anything, you need to see what you’re actually working with. I know it sounds obvious, but most people try to organize around the clutter — and it never works.
Take everything off your desk. Every pen, cable, sticky note, that charger you haven’t used in four months — all of it. Put it on your bed or floor temporarily.
Then ask yourself three questions about each item:
- Do I use this daily?
- Does it need to live on my desk, or can it go in a drawer?
- Is this just here because I forgot to put it away?
You’ll be shocked at how much stuff you were keeping on your desk “just in case.” I found two adapters, a broken stapler, and an actual fork during my first purge. Don’t ask.
Once your desk is completely clear, you get to make intentional decisions about what comes back — and that changes everything.
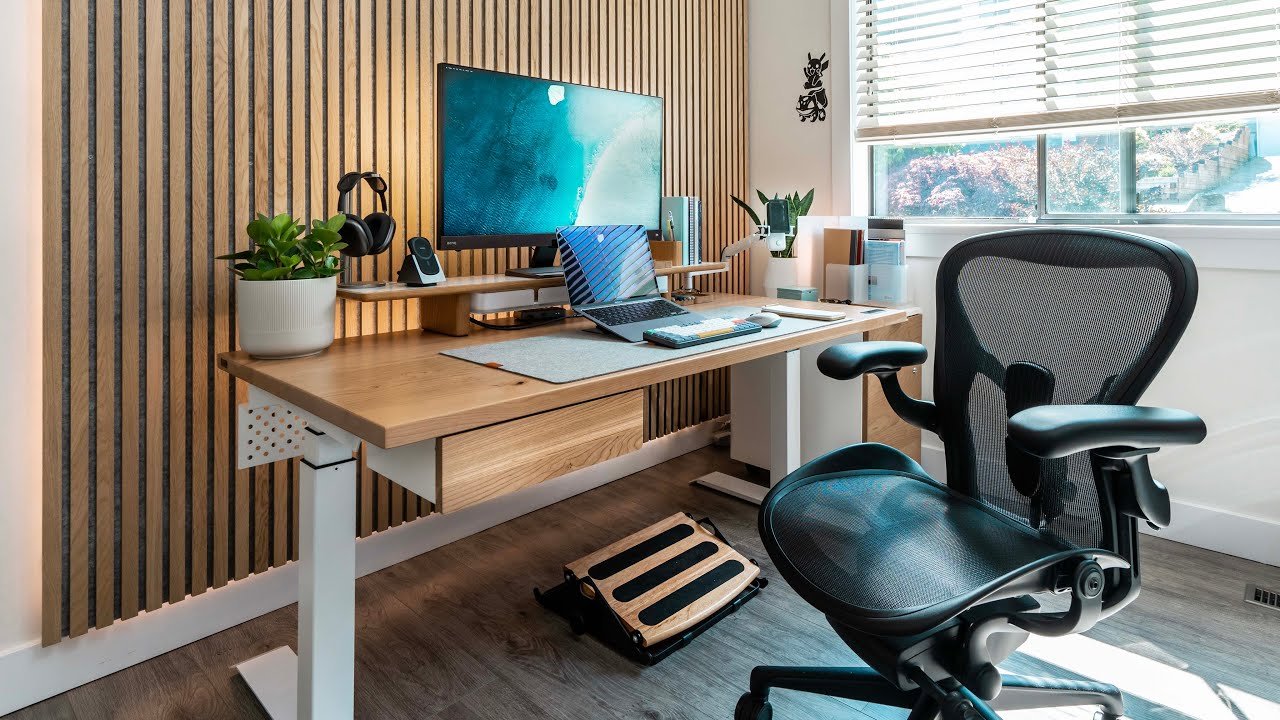
2. Use Vertical Space Like It’s Prime Real Estate
Small desk = limited horizontal space. So the move is to go up.
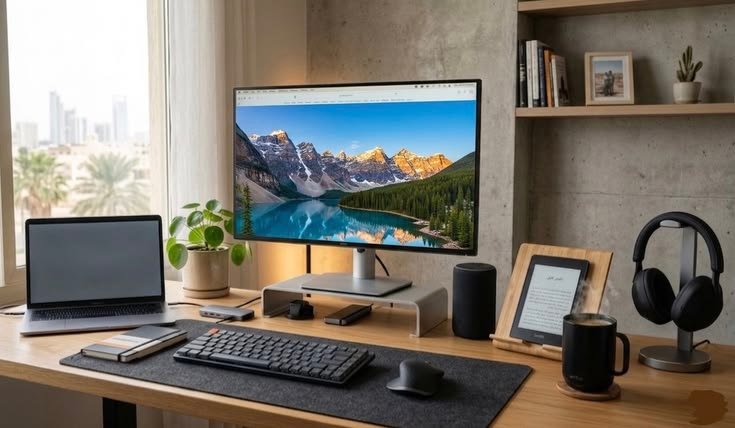
Wall-mounted shelves, pegboards, and monitor risers are your best friends here. I added a simple floating shelf above my monitor and suddenly had a whole extra surface for my router, a small plant, and my headphones.
A pegboard is honestly one of the best investments I made for under $30. You can hang cable organizers, small baskets, hooks for headphones, even a whiteboard. Everything stays off the desk but is still within arm’s reach.
If you’re renting and can’t drill into walls, there are freestanding shelving options and over-desk organizers that clip or sit behind your monitor. IKEA’s SKÅDIS pegboard is a popular one — and with the right accessories, it’s incredibly functional.
Here’s a quick breakdown of vertical storage options by budget:
| Option | Approx. Cost | Best For |
|---|---|---|
| Pegboard (IKEA SKÅDIS) | $20–$40 | Cables, accessories, notes |
| Floating shelf | $15–$50 | Extra surface area |
| Monitor riser with drawers | $25–$60 | Elevates screen + hidden storage |
| Wall-mounted cable tray | $10–$20 | Hiding power strips and cables |
| Over-desk hutch | $50–$120 | Full organizer setup |
3. Cable Management Is Not Optional
This one nearly broke me before I figured it out.
Tangled cables are not just ugly — they actively slow you down. You unplug the wrong thing, you can’t figure out what’s connected to what, and the whole desk feels messy even when everything else is organized.
My current system (which took embarrassingly long to figure out):
Step 1: Label every cable with small cable labels or even just pieces of masking tape with a marker.
Step 2: Use velcro cable ties (not zip ties — velcro lets you readjust easily) to bundle cables that run together.
Step 3: Route cables behind or under your desk using adhesive cable clips. These are like $6 for a pack of 20 on Amazon and they changed my life.
Step 4: Use a cable management box or tray to hide your power strip. It’s literally just a box your power strip sits in. Sounds too simple, but it makes the desk look 10x cleaner.
I also switched to wireless peripherals where I could — wireless mouse, wireless keyboard — and that alone cut my visible cable count in half.
For a deeper dive into keeping your desk tidy, check out these 6 Proven Remote Desk Life Cable Management Tricks That Look Clean — genuinely practical stuff.
4. Assign a “Home” to Every Single Item
This is the organizing principle I wish someone had told me earlier: if something doesn’t have a designated spot, it will end up on your desk.
Every item that lives in your workspace needs a specific place. Not “somewhere in this drawer” — a specific spot.
Pens go in the pen cup on the left side. Notebook goes directly to the right of the keyboard. Headphones hang on the hook on the pegboard. The webcam remote sits in the small tray next to the monitor.
When everything has a home, tidying up takes three minutes instead of thirty. And you always know where things are, which is huge for focus and flow.
I use small trays and dividers inside my drawers so nothing just floats around. Dollar stores and DAISO have great options for this that don’t cost much at all.
5. Digitize Whatever You Can
Paper is one of the biggest desk space killers, especially if you’re dealing with notes, invoices, reference documents, or anything you feel like you might need later.
My honest advice: go as paperless as you reasonably can.
For notes, I switched to Notion (free for personal use) and it replaced about four physical notebooks. For documents I receive physically, I use my phone’s camera with the Adobe Scan app to digitize them immediately and then recycle the paper.
For things you absolutely must keep physically, a small vertical file organizer on your desk — not a horizontal pile — keeps them visible and accessible without eating up surface space.
Here’s a quick comparison of note-taking tools for remote workers:
| Tool | Free Plan? | Best For |
|---|---|---|
| Notion | Yes | Notes, wikis, project tracking |
| Google Keep | Yes | Quick notes, reminders |
| Obsidian | Yes | Linked notes, deep research |
| Apple Notes | Yes (Apple users) | Simple, fast note capture |
| OneNote | Yes | Document-heavy workflows |
6. Use a Desk Mat to Define Your Workspace
This one sounds aesthetic but it actually serves a functional purpose.
A large desk mat (also called a desk pad) creates a visual boundary for your workspace. It tells your brain: this is the zone where work happens. Everything outside the mat is not desk space. It’s a subtle psychological trick, but it genuinely works.
It also protects your desk surface, makes moving your mouse smoother, and just makes the whole setup look more intentional.
I went with a 90x40cm leather-style mat and it transformed how my desk felt — even before I changed anything else. They’re usually $20–$40 on Amazon and come in a ton of colors.
7. The “One In, One Out” Rule for Desk Accessories
Once your desk is organized, the real challenge is keeping it that way.
The rule I follow: if something new comes onto the desk, something old has to leave. Bought a new USB hub? The old one goes in a drawer or gets donated. Got a new notebook? The old one gets filed or recycled.
This sounds strict, but without some kind of rule, desks naturally accumulate stuff. It’s like entropy — disorder increases unless you actively fight it.
I also do a 5-minute desk reset every Friday afternoon before I log off for the weekend. Everything goes back to its home. The desk starts Monday clean. It sounds small, but it makes Monday mornings feel way less chaotic.
8. Optimize Your Monitor Height and Position First
Okay, I know this sounds like an ergonomics tip, but hear me out — it’s actually an organization trick too.
When your monitor is at the wrong height, you end up stacking stuff under it (books, boxes, random things) to prop it up. That creates clutter and makes cable management a nightmare.
Get a proper monitor stand or arm. A monitor arm clears everything off the surface under your monitor — that entire area becomes usable desk space again. It also lets you route cables along the arm itself, so they’re hidden.
I use an Ergotron LX arm (yes, it’s a splurge at around $50–$100, but it’s worth every penny). The desk space I got back was massive — easily 30% more usable surface area.
If you want more ideas on setting up your ergonomics properly alongside your organization, this guide on 11 Powerful Remote Desk Life Ergonomic Essentials for Remote Workers covers a lot of ground.
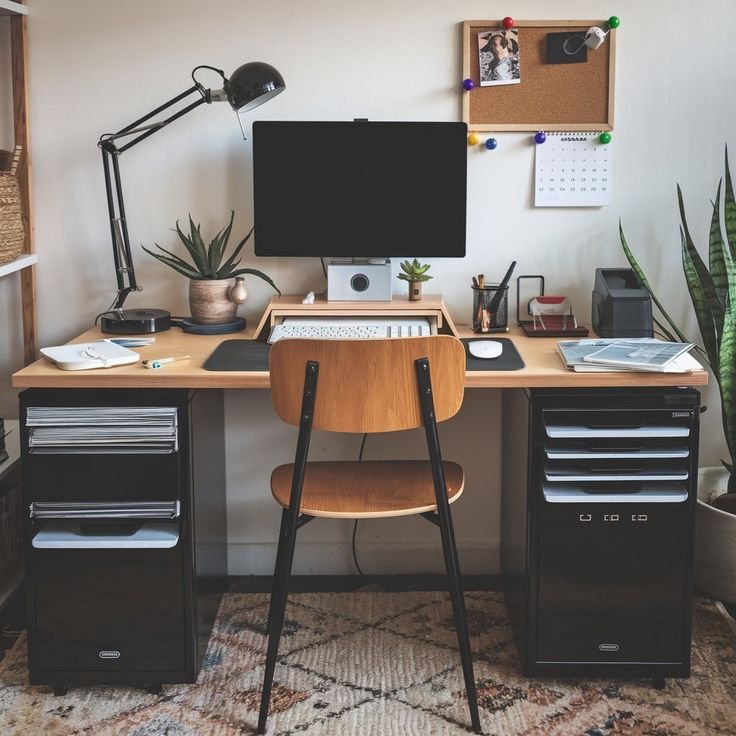
9. Create Zones on Your Desk
Even on a small desk, you can create functional zones — areas designated for specific types of tasks or items.
My desk is divided into three rough zones:
Zone 1 — Primary Work Zone: Center of the desk. Monitor, keyboard, mouse. Nothing else lives here during work hours.
Zone 2 — Reference Zone: Right side. Notebook, a pen, and a small tray with any physical documents I’m actively using.
Zone 3 — Tech Zone: Left side. Small hub, charging cable, and a coaster for my coffee.
This zoning approach means I’m not hunting for things mid-task. I know exactly where to reach without looking. It also prevents the “just put it here for now” habit that causes desks to descend into chaos.
Here’s a visual reference for how to think about desk zones:
| Zone | Location | What Lives Here |
|---|---|---|
| Primary Work Zone | Center | Monitor, keyboard, mouse |
| Reference Zone | Right | Notebook, active documents, pen |
| Tech/Charging Zone | Left | Hub, charging cables, device |
| Inspiration/Personal | Above desk (shelf) | Plant, photo, small decor |
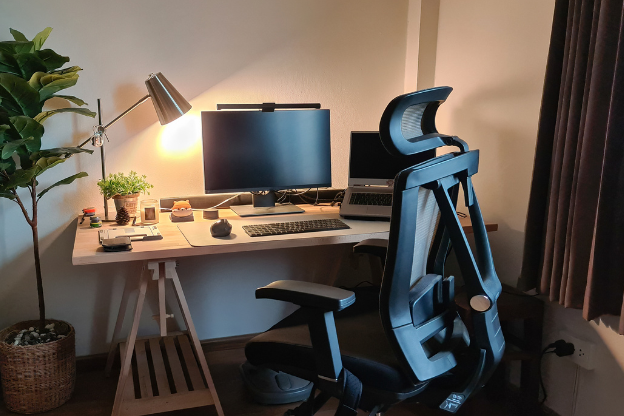
10. Lighting and Visible Order Work Together
Bad lighting hides mess. Good lighting reveals it — and that’s actually a good thing.
When you have proper lighting (a decent desk lamp or an LED panel), you see the clutter more clearly, which motivates you to deal with it. In dim light, it’s easy to ignore the chaos building up around you.
But beyond motivation, good lighting also makes your workspace feel larger and more intentional. A well-lit desk looks organized even when it’s not perfectly tidy.
I added an LED desk lamp with adjustable color temperature — cooler light during focused work, warmer light for video calls — and it made a noticeable difference in how the space felt and how long I could work comfortably.
For setup ideas that go beyond just lighting, these 11 Powerful Remote Desk Life Setup Essentials Every Remote Worker Needs are worth a read — covers everything from monitors to ambient sound.
Common Mistakes That Undo All Your Progress
Since we’re being honest, here are the things I got wrong that you can avoid:
Buying organizers before decluttering. I bought a beautiful desk organizer set and then just used it to organize my clutter. More neatly organized mess is still mess. Purge first, then buy.
Organizing for looks, not use. I once arranged my desk to look like a YouTube setup photo. Looked great. Was totally impractical for how I actually worked. Set up for your workflow, not someone else’s aesthetic.
Ignoring cables until it’s too late. Every time I skipped cable management and told myself I’d “deal with it later,” later became six months later and a complete untangling nightmare.
Over-accessorizing. Desk gadgets are fun. I have bought many unnecessary desk gadgets. A cable organizer that doubles as a phone stand and a whiteboard and a Bluetooth speaker sounded amazing and was mostly useless. Keep it simple.
Final Thoughts
A small home office doesn’t have to mean a cramped, chaotic one. Most of the tricks above cost very little — some cost nothing at all. It’s more about building habits and making intentional decisions than buying the right products.
Start with the purge. Everything else builds from there.
The difference between a distracting, frustrating workspace and one that actually helps you focus is usually not a bigger desk. It’s a better-organized small one.
And once you get it right, that five-minute Friday reset keeps it that way without much effort. Trust me — future Monday-morning you will genuinely appreciate it.
Looking to go deeper on organizing a minimal workspace? Check out these 11 Powerful Remote Desk Life Organization Tips for Minimal Workspaces — lots of practical ideas especially if you’re working with limited square footage.