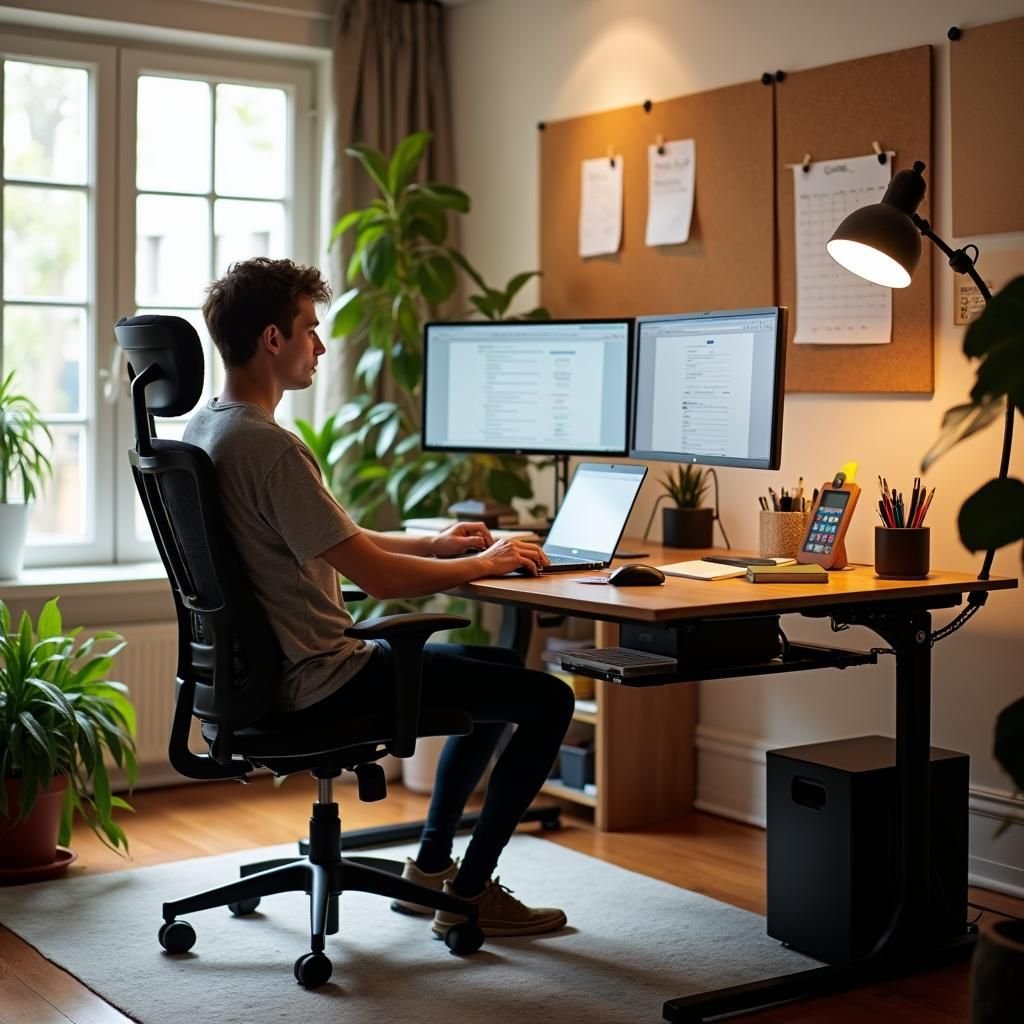
Okay, real talk — for the first eight months of working from home, my desk was an absolute disaster zone.
I had sticky notes everywhere, three different chargers tangled together like spaghetti, a coffee mug doubling as a pen holder, and somehow a TV remote that had no business being on a work desk. I told myself it was “organized chaos.” It wasn’t. It was just chaos.
The turning point came when I missed an important client call because I couldn’t find my headphones fast enough. They were buried under a pile of notebooks and a laptop sleeve I hadn’t used in weeks. That was embarrassing enough to finally make me take desk organization seriously.
What I found after actually fixing things? My productivity went up, my stress went down, and I stopped dreading sitting at my desk every morning. These five ideas didn’t come from a fancy interior design magazine — they came from trial, error, and a lot of frustration. If you’re working remotely and your desk situation is anything like mine was, keep reading.
1. 🗂️ The “Zone System” — Stop Treating Your Desk Like One Big Surface
This was the single biggest shift for me. I used to think of my desk as just… a desk. One flat surface where everything lived together in harmony. Spoiler: it doesn’t work that way.
The zone system means dividing your desk into dedicated areas based on how often and why you use things.
Here’s how I set mine up:
| Zone | Location on Desk | What Goes Here |
|---|---|---|
| Active Zone | Right in front of you | Laptop/monitor, keyboard, mouse, current notebook |
| Reference Zone | Left or right side | Planner, frequently used documents, sticky note pad |
| Supply Zone | Far corner or drawer | Pens, scissors, tape, chargers — stuff you grab occasionally |
| Clear Zone | One dedicated empty space | Nothing. Literally nothing. Just open space to think |
That “Clear Zone” sounds wasteful, right? It’s not. Having even a small empty patch of desk space gives your brain room to breathe. Cluttered surfaces create low-level anxiety that you might not even notice until it’s gone.
I used a simple desk pad mat to visually separate my active zone from everything else. The Orbitkey Desk Mat is a good option, but honestly even a plain leather-look mat from Amazon does the job. The visual boundary is what matters.
2. 🔌 Cable Management Is Not Optional — It’s the Difference Between Calm and Chaos
I don’t know why I waited so long on this one. Probably because it seemed like a hassle. It took me about 45 minutes on a Saturday afternoon and completely changed how my desk feels to sit at.
Here’s what I actually did, step by step:
Step 1: Audit your cables. Unplug everything and lay it all out. You’ll almost certainly find cables for devices you don’t even own anymore. Throw those out immediately.
Step 2: Label what’s left. I used small adhesive cable labels (got a pack of 50 for about $6). Knowing which cable is which means you stop unplugging the wrong thing in a panic.
Step 3: Use cable clips along the back edge of your desk. These keep cables from falling behind the desk when you unplug something. The IKEA Signum cable organizer is great if you have an IKEA desk, but stick-on cable clips work just as well.
Step 4: Use a cable management box for the power strip. This was a game changer. A simple cable box sits under your desk or on a shelf and hides your power strip and excess cord length completely. No more looking at a tangled mess every single day.
Step 5: Zip-tie or velcro-strap cables that run together. Velcro straps are better than zip ties because you can undo them without cutting.
If you’re building out your setup from scratch, this guide on 11 Powerful Remote Desk Life Setup Essentials Every Remote Worker Needs is worth reading before you buy a single thing.

3. 📦 Vertical Storage — You’re Ignoring Half Your Available Space
Most people organize horizontally. They spread things across the desk surface or shove things into drawers. But vertical space? Completely ignored.
Once I started thinking upward instead of outward, my desk cleared up dramatically without getting rid of much at all.
Here are the vertical storage solutions I actually use:
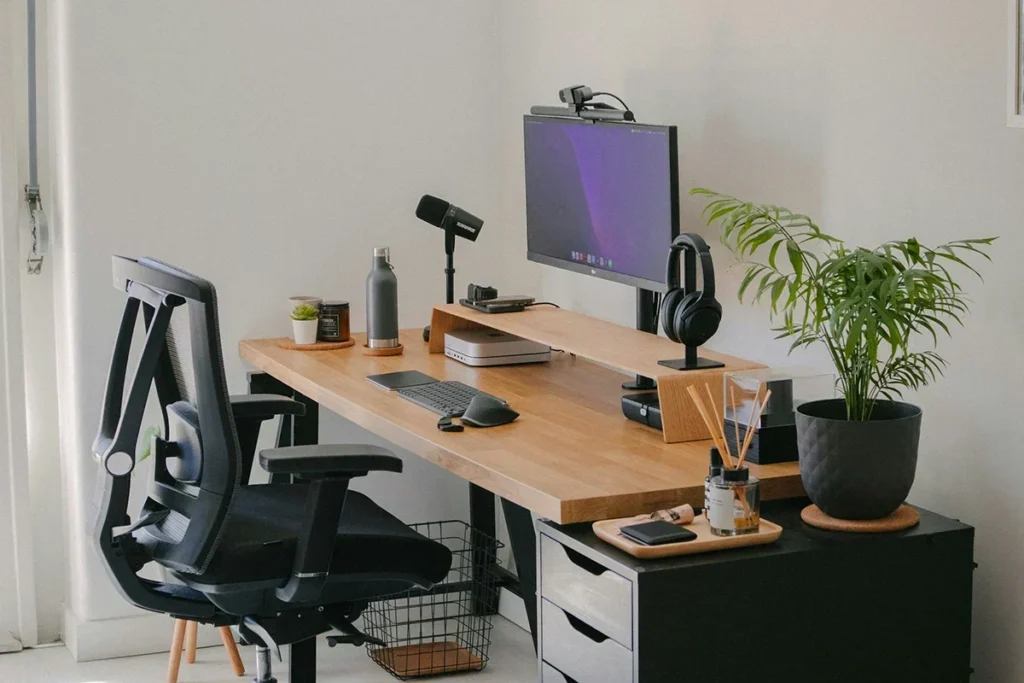
Monitor Riser with Storage: I have a bamboo monitor riser that raises my screen to eye level (which is also great for your neck — more on that in a moment) and has an open shelf underneath for my external hard drive, a small notebook, and my wireless keyboard when it’s not in use. Cost me about $35.
Wall-Mounted Pegboard: Okay, this one requires a bit of commitment because you’re putting holes in your wall. But if you can do it, a pegboard changes the game. I mounted mine to the left of my desk and it holds: my headphones (on a small hook), a small planter, sticky note pads, a power outlet extender, and a weekly planner sheet. Everything visible, nothing on the desk.
Stackable Desk Organizers: For the desk surface itself, I use a two-tier letter tray for documents that need action vs. documents that are for reference. Keeps paper off my main workspace but still accessible.
Under-Desk Hooks: There are adhesive hooks rated for 5–10 lbs that you can stick to the underside of your desk. I hang my backpack and my laptop bag there. No more bags on the floor taking up foot room.
Here’s a rough sense of how much space you can recover with vertical storage:
| Storage Type | Approx. Desk Space Freed |
|---|---|
| Monitor riser with shelf | Frees up ~30% of surface area |
| Wall pegboard | Removes 5–8 items from desk entirely |
| Under-desk hooks | Clears floor space around desk |
| Stackable organizers | Consolidates 3–4 piles into 1 footprint |
4. 🧠 The “One In, One Out” Rule for Desk Items — Sounds Simple, Actually Hard
Here’s something nobody tells you: organization isn’t a one-time project. It’s a habit you maintain.
I deep-cleaned and reorganized my desk beautifully in February. By April it looked like before. That’s when I realized I needed a system, not just a clean-up.
The one-in, one-out rule means: every time something new comes onto your desk, something else has to leave. New notebook? An old one goes in the drawer or the recycling bin. New gadget arrives? Old one gets put away or donated.
It sounds rigid, but it forces you to be intentional. You stop letting things accumulate “just in case.” Your desk starts to only hold things that are actively earning their spot.
This pairs really well with a quick daily reset habit. Before I shut down for the day, I spend literally 3–5 minutes putting things back where they belong. Nothing elaborate. Just a quick scan and tidy. The next morning I sit down to a clean desk instead of yesterday’s leftovers.
If you’re struggling with building that kind of consistency, these 6 Proven Remote Desk Life Focus Habits I Wish I Knew Earlier lay out some really practical routines that helped me stick with it.
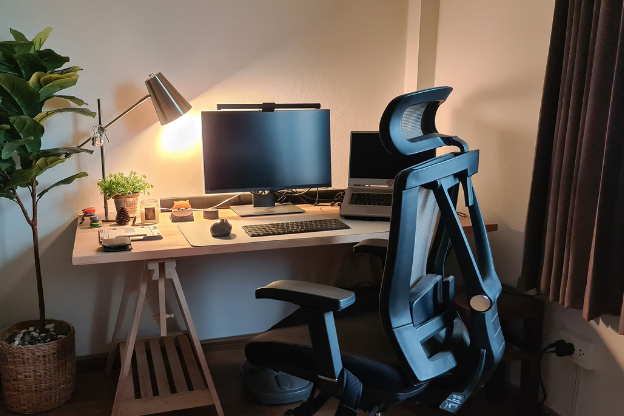
5. 💡 Lighting — The Underrated Organization Tool Nobody Talks About
Wait — how is lighting an organization idea?
Here’s how: bad lighting makes your desk feel chaotic even when it isn’t. Good lighting makes your desk feel clean and calm even when it’s a little cluttered. And more importantly, proper desk lighting changes how you perceive your space, which changes how you treat it.
When I added a decent desk lamp with adjustable brightness, I started caring more about how my desk looked. Weird psychological effect, but real.
Beyond the psychological angle, good lighting also helps you find things faster. I used to knock things over searching for something in dim overhead lighting. With a direct desk lamp, I can see exactly what’s where without digging around.
What I use and recommend:
- BenQ ScreenBar: Mounts directly on your monitor, doesn’t take up desk space, and has an ambient light sensor that adjusts brightness automatically. Pricier (around $109) but genuinely excellent.
- IKEA Forså: Budget pick, around $25, simple swing-arm lamp, does the job without taking up much space.
- LED Light Strip behind monitor: Adds bias lighting that reduces eye strain during long sessions. I got one for $12 and it makes the whole setup look a lot more intentional.
Color temperature matters too. Warm light (2700K–3000K) is cozy but makes you sleepy. Cool white or daylight (4000K–5000K) keeps you alert and focused. For a work desk, go cooler, especially in the morning.
Mistakes I Made That You Should Skip
Since I’ve been through the trial-and-error phase already, let me save you some time:
❌ Buying organizers before decluttering. I did this twice. Bought a beautiful set of desk organizers, filled them with stuff I didn’t need, and just moved the clutter from the surface into boxes. Declutter first, then organize.
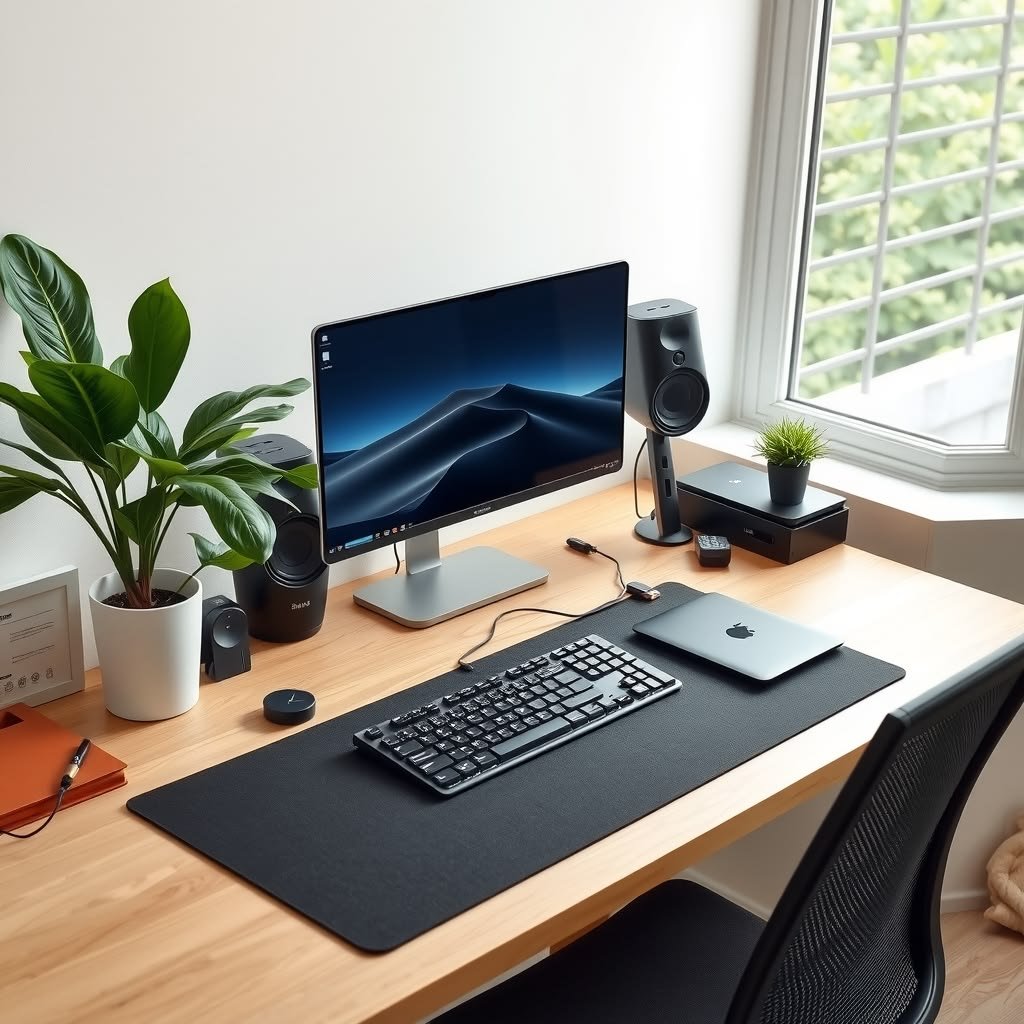
❌ Going too minimal too fast. I had a phase where I wanted a completely empty desk — just laptop, nothing else. Sounds great, looks great in photos. In practice, I was constantly getting up to grab things. A bit of intentional clutter (the things you actually use daily) is fine.
❌ Ignoring ergonomics in favor of aesthetics. I positioned my monitor low because it looked cleaner in photos. Ended up with serious neck pain within two weeks. Your desk can look good and be set up properly — they’re not mutually exclusive. If you’re dealing with any of that, 7 Essential Remote Desk Life Ergonomic Fixes for Pain-Free Workdays is a genuinely useful read.
❌ Organizing once and thinking you’re done. Already covered this, but worth repeating. Systems need maintenance. Build the daily reset habit.
The Real Payoff Nobody Mentions
People talk about desk organization like it’s about aesthetics — like you’re setting up for a YouTube thumbnail. But the real benefit is mental.
When I sit down at a clean, organized desk, I feel ready. There’s no visual noise competing for my attention. I know where everything is. I’m not starting the workday already frustrated.
That sounds small. It’s not. Over the course of weeks and months, starting each day from that calmer baseline adds up to a meaningful difference in how much you actually get done — and how much you enjoy doing it.
You don’t need to overhaul everything at once. Pick one of these ideas — maybe the zone system, maybe cable management — and start there. One change done well beats five changes done halfway.
If you’re just getting started with building a proper remote setup, don’t miss this: 11 Easy Remote Desk Life Productivity Tweaks That Saved Me Hours — it covers the small changes that add up fast.