Meta Description: Ergonomic fixes that can transform your home workspace from remote desk life in one day. 7 affordable, vetted upgrades that help ease back aches, neck strain and wrist fatigue.
Troubleshooting Remote Desk Life: 7 Ergonomic Fixes I Tried in My Workspace
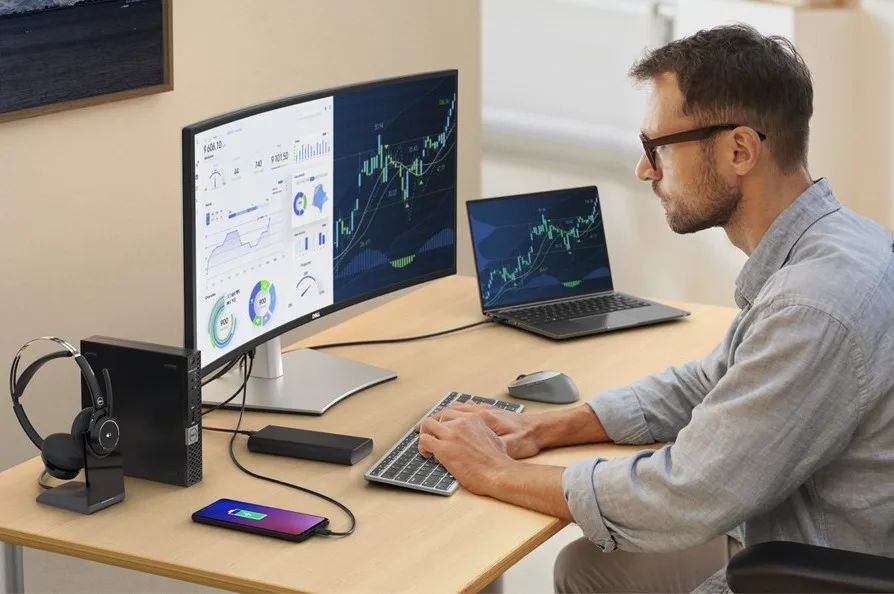
Working from home seems incredible — no commute, no noisy office, no dress code. But after a few months of desk life remote, something surprising occurs. Your back starts aching. Your neck tightens as if a vice grips you every night. Your wrists get sore by noon.
Sound familiar? You are not alone.
Studies indicate more than 70% of remote employees experience new or worsening body pain since transitioning to a work-from-home environment. The reason? Most home arrangements were never engineered for eight-plus hours of daily labor.
The good news is this: You don’t have to spend thousands of dollars to fix it. Over the past few months, I’ve tested seven practical, affordable ergonomic fixes in my own home workspace. Some were free. Some are cheaper than a lunch out. All of them had an impact.
This is what I tried — what worked, what surprised me, and the exact way you can do it as well.
70%
Remote workers with new body pain
8 hrs
Average daily screen time
$0–$50
Cost of most fixes below
7
Fixes tested in this article
You Kind of Know Your Remote Workspace Is Killing You
Before getting into the fixes, it’s worth understanding what exactly makes remote desk setups so uncomfortable.
Crooks, couches or mismatched chairs that nobody ever intended to use for hours of work. Unlike corporate offices — which typically have adjustable furniture and ergonomics guidelines to help workers suit their individual needs — home setups are piecemeal, improvisational.
Here are the three leading offenders of remote work pain:
- Incorrect screen height — makes your neck look down or up all day
- Chair height discrepancy — straining your hips and lower back
- Position of wrist and keyboard — tension in forearms and shoulders
The fixes below address all three. Let’s get into it.
1
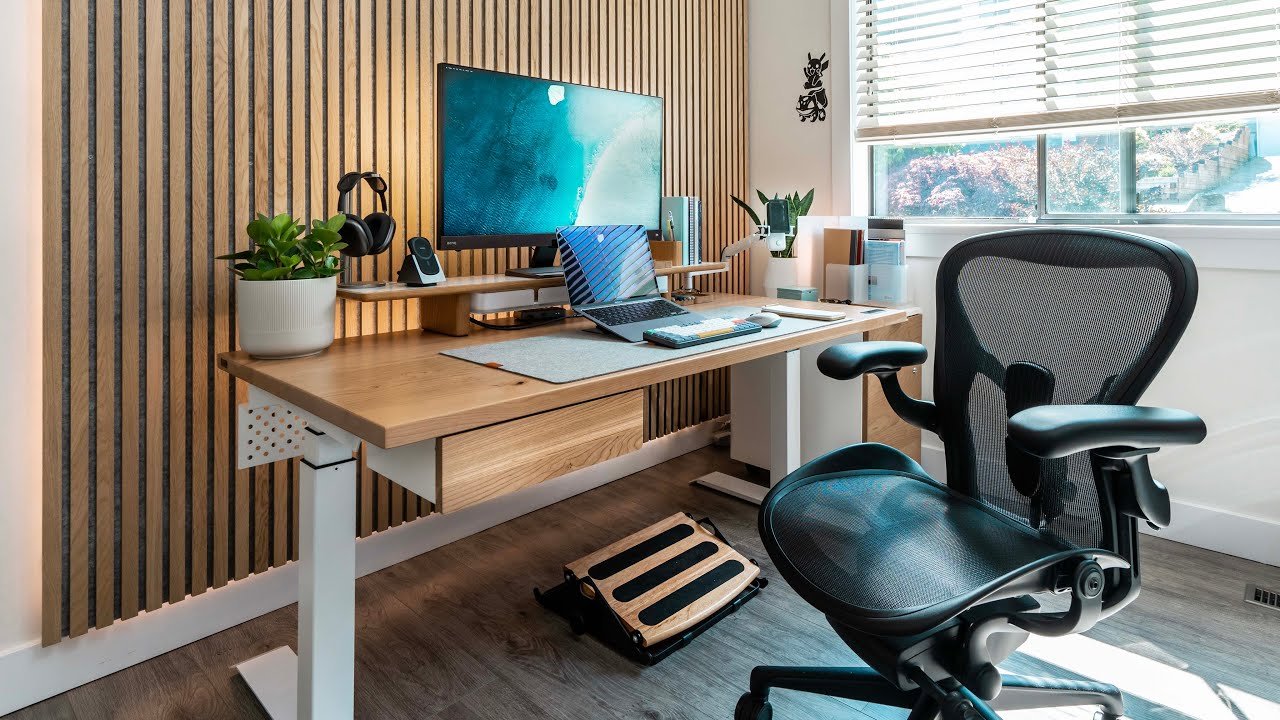
Raise Your Monitor to Eye Level — The Free Fix That Changed Everything
This was the first thing I adjusted. It cost me nothing. The difference was immediate.
The common set up for most people is to have their laptop or monitor lying flat on the desk. Translation: That means you’re looking slightly down for most of the day. Over hours, that slight tilt exerts a tremendous strain on your neck and upper spine.
What Eye Level Actually Means
Your monitor should be positioned with the top edge of the screen about at — or just below — your eye line when you sit up straight. Your chin should not be tilted up or down to read the screen.
If you want to get there without purchasing anything, see if you can stack some books, a shoebox or a sturdy binder beneath your monitor or laptop. I used three hefty hardcover books and instantly noticed a difference in my neck and shoulders.
Quick Tip: When looking straight ahead, your eyes should hit the top third of the screen. If all you see is the bottom half, your screen is too low.
When Should You Upgrade to a Monitor Stand?
Books are the best stopgap solution. If you’re looking for something adjustable and cleaner-looking, a simple monitor riser runs anywhere from $15 to $35. Many also come with a compact shelf underneath, for your keyboard or notepads.
| Option | Cost | Adjustable? | Best For |
|---|---|---|---|
| Books / boxes | Free | Limited | Quick test or really tight budget |
| Monitor riser stand | $15–$35 | Some models | Permanent desk setup |
| Monitor arm (mount) | $30–$80 | Full range | Multi-monitor use or frequent adjustments |
2
Adjust Your Chair Height First
Most people skip this step. It is one of the most significant.
Your chair height influences just about everything — your posture, your wrist position, your hip comfort and even how much your lower back hurts at the end of the day.
The Golden Rule of Seat Height
Your feet should be flat on the floor when you sit. Your knees should be at about a 90-degree angle. Your thighs should be parallel to the ground — or very slightly slanted downward.
If your chair is too tall, your feet dangle and pressure accumulates beneath your thighs. Too far down, and your hips will sag forward, bending your spine into a slump.
What If Your Chair Doesn’t Adjust?
Most home office chairs — and certainly dining chairs — don’t have height adjustment. Here are some workarounds I tried:
- Footrest — to give your feet solid ground if your chair is a touch high (even a stacked yoga mat works)
- Firm seat cushion — if your chair is a hair too low, a 2-inch thick cushion brings you up for cheap
- Swap out the chair — at the very least a simple adjustable office chair usually starts around $60–$80 and is worth the money
Quick Tip: Your back should touch the back of your chair — sit all the way back. If there’s a gap at your lower back, roll up a small towel and put it there for lumbar support.
3
The Lumbar Pillow Hack — 60-Second Back Support
You don’t need a fancy ergonomic chair to find proper lower back support.
The most common complaint among remote workers? Lower back pain. The main reason? For the most part, chairs — even good ones — do not fill in the natural forward curve of your lower spine. With nothing to lean on, your back muscles gradually tire during the day.
How to Make Your Own Lumbar Support
Use a small pillow, a towel rolled up, or even a folded hoodie. Slide it into the small of your back — just above your waistband. It should gently curve your lower spine forward into its natural S-curve shape.
I tried this with a rolled bath towel for two weeks before investing in an actual lumbar cushion. Both worked surprisingly well. The trick is positioning — too high and it pushes your upper back outward; too low and it serves you not at all.
When a Real Lumbar Cushion Makes Sense
If you sit more than six hours a day, get a $20–$40 dedicated lumbar pillow. Find one with a strap that secures it to your chair so it doesn’t shift around as you move.
Did you know? When you sit, you compress your spinal discs 40% more than when you stand. That’s why low back pain surges among desk workers — and why lumbar support is more critical than most people think.
4
Get Your Keyboard and Mouse Off the Edge
It turns out that where your hands rest impacts absolutely everything in terms of shoulder and wrist health.
Most people push the keyboard to the far edge of the desk and then have to reach out to type. That reach — repeated thousands of times each day — gradually takes a toll on the shoulders, elbows and wrists.
The Right Keyboard Position
Your keyboard needs to be close enough so your elbows stay about at the sides of your body when typing — not extended forward. Your wrists should be straight or very slightly angled downward, not bent upward.
If your desk is too tall for this, a keyboard tray that attaches to the underside of the desk will lower your typing surface by several inches. These are available for about $25–$60 and really make an impact on wrist comfort.
What About Your Mouse?
Keep your mouse at the same height as your keyboard and right next to it — not off to one side where you have to reach for it. Also, move the mouse with your entire arm rather than only your wrist. Simply changing this one habit can minimize strain on the wrists.
Quick Tip: If you work on a laptop, when working for longer sessions, always connect an external keyboard. Typing on a raised laptop keyboard is among the fastest paths toward wrist and shoulder pain.
| Body Part | Common Problem | Quick Fix |
|---|---|---|
| Wrists | Bent upward while typing | Move keyboard closer, add wrist rest |
| Shoulders | Hunched or raised | Lower desk/keyboard height |
| Elbows | Stretched forward | Bring keyboard closer to body |
| Forearms | Tension, soreness | Use arm rests or padded desk edge |
5
Kill the Glare — Lighting Adjustments That Are Easy on Your Eyes
One of the sneakiest causes of remote work fatigue is eye strain. Fixing good lighting costs almost nothing.
Most remote workers do one of two things: They sit in front of a bright window, which casts glare on their screen. Or they labor in a dark room where the screen itself is the only light source, making their eyes work hard to readjust all day.
In either case, you’re setting yourself up for digital eye strain — headaches, blurry vision, tired eyes and even trouble sleeping at night.
The Best Lighting Setup for a Home Desk
Have windows perpendicular to your desk — not in front of it or behind you. Side lighting eliminates glare but doesn’t darken the room.
Then add a desk lamp so it shines on your work surface (not directly at your screen). Warm-toned, non-flickering LED lights are the best choice when it comes to reducing eye fatigue during long sessions.
Screen Settings Matter Too
Lower your screen brightness until it more or less matches the ambient light in your space. Almost everyone has their screen on full brightness in a normal-light room — that disparity is hard on your eyesight. Also activate the blue light filter your device comes with (called Night Shift on Apple devices, and Night Mode on Android), particularly in the afternoon and evening.
Remote desk life advice: The 20-20-20 rule is one of the simplest habits to implement. Every 20 minutes, focus on something 20 feet away for 20 seconds. This helps reset your eye focus and makes the end-of-day eye strain drop dramatically.
6
Take Micro-Breaks on a Timer — The Habit That Multiplied My Energy
No ergonomic upgrade replaces movement. However, most remote workers become sedentary for hours on end without realizing it.
In an office, by default you are getting up to get coffee or talk to a colleague, or walk to a meeting room. At home, there is no need to leave your desk. That stillness presents a challenge — human bodies are not built to rest in one position for hours at a time.
How You Can Develop the Micro-Break Habit
A timer every 30 to 45 minutes can be a reminder for you to stand up, stretch, or take a short walk. You don’t need a long break — movement for just 90 seconds can help reset your posture and circulation.
I started using a free browser extension called Stretchly, which pops up soft reminders to take breaks throughout the day. Within a week I realized that I was ending each day far less stiff with much more energy.
Simple Stretches for Your Desk
- Neck rolls — slowly drop your ear to your shoulder and hold for 10 seconds each side
- Chest opener — clasp hands behind your back and squeeze shoulder blades together
- Flex and extend your wrist — extend one arm out, gently pull fingers back, then down
- Hip flexor — step one foot forward into a lunge and hold 20 seconds each side
Quick Tip: Sip water consistently through the day. It sounds irrelevant, but being hydrated will also make you get up for bathroom breaks — and help your body keep moving naturally.
7
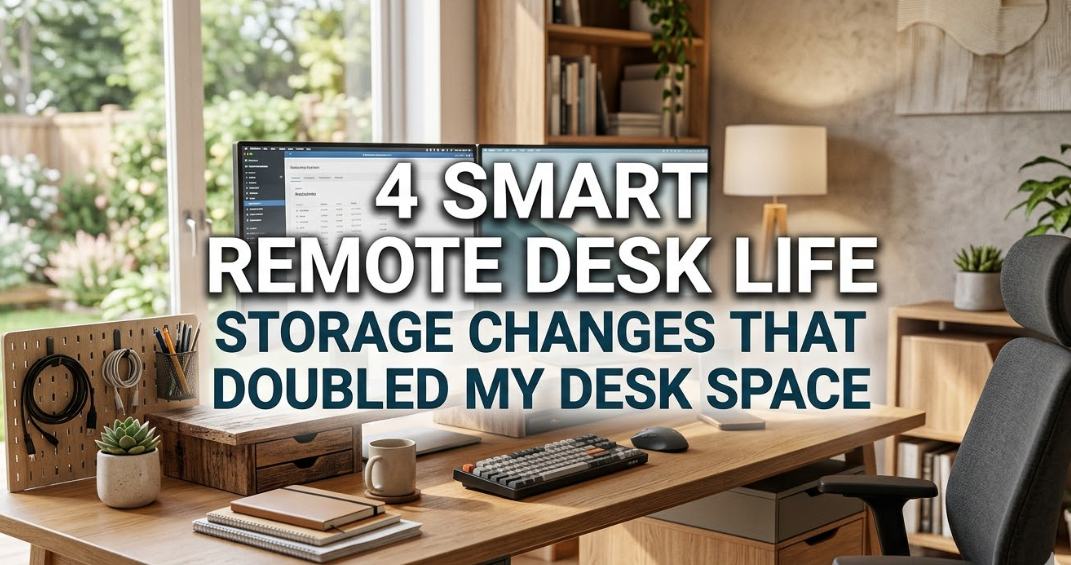
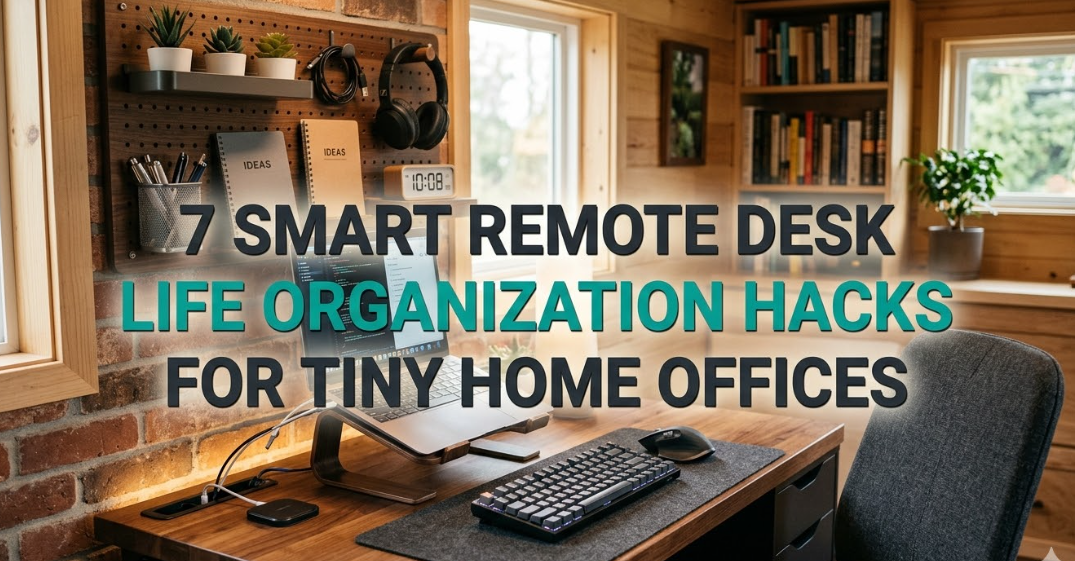
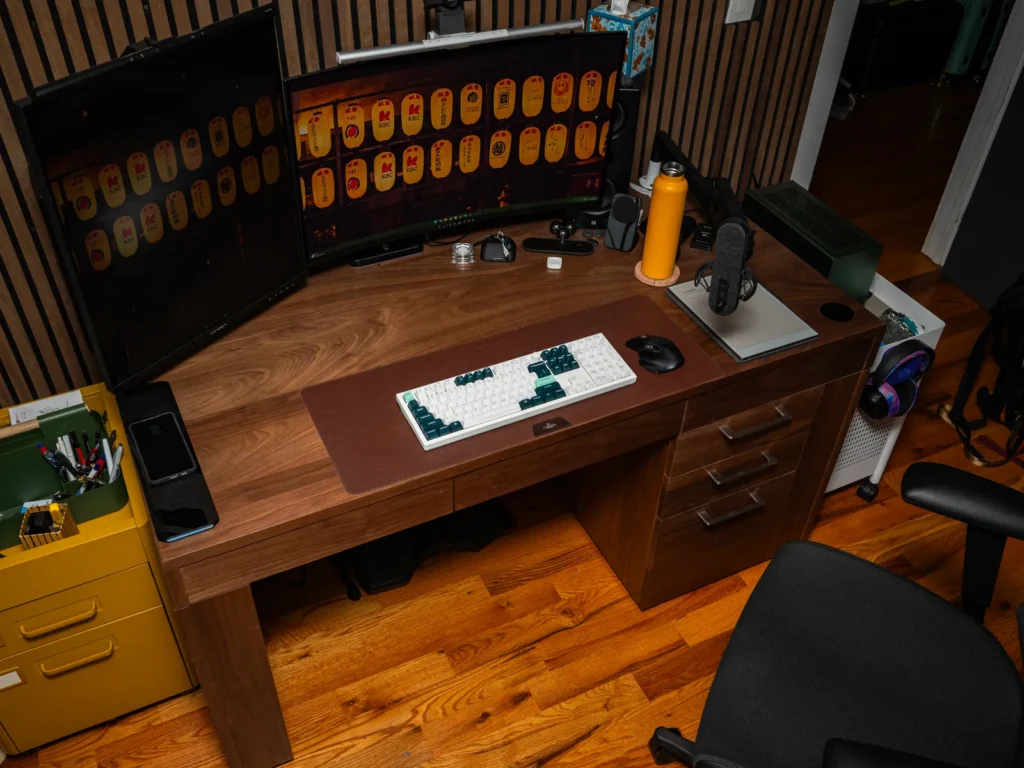
Declutter Your Cables and Chaos — Why Your Environment Is Harmful to Your Body
This one surprised me. A messy desk was covertly ruining my posture.
When your desk is overrun with cables, notebooks, coffee cups and stuff in general, you start to subconsciously adjust your body around them. You have to tilt to one side in order to access the mouse. You strain your neck to glance around a mound of papers. You lean your elbow on a book since the flat surface of the desk is occupied by things.
Over the course of a full workday, these small compensations add up to considerable discomfort.
The 10-Minute Desk Reset
Dedicate ten minutes removing everything from your desk that you do not use in the day-to-day work. Move things into drawers or onto shelves. Gather stray cables out of your working area with a little cable management clip or velcro tie.
You should have room to put your keyboard, mouse and a notebook on the desk and have space left over. Clear space means you can sit centered and relaxed, without all the unconscious twisting and reaching that creates tension.
The One Desk Upgrade I Still Think About
If you can spend a little more, a simple desk pad (a mouse-pad type mat that rests atop most of your desk surface) does two things: It gives soft cushioning to your forearms when resting on the edge of the desk and delineates your working zone clearly — which, psychologically, helps keep clutter from creeping back in.
Remote desk life hack: According to a Princeton University study, visual clutter limits your brain’s ability to focus. A tidy desk is good not only for your body — it’s also good for your focus and mental energy. For more tips on building a healthier home setup, visit Remote Desk Life — a dedicated resource for remote workers looking to work smarter and feel better.
The Bottom Line on These 7 Fixes: A Quick Comparison
| Fix | Cost | Time to Set Up | Pain Area Targeted |
|---|---|---|---|
| Raise monitor to eye level | Free – $35 | 5 min | Neck, upper back |
| Fix chair height | Free – $80 | 5 min | Hips, lower back, legs |
| Add lumbar support | Free – $40 | 1 min | Lower back |
| Reposition keyboard & mouse | Free – $60 | 10 min | Wrists, shoulders, elbows |
| Fix lighting & glare | Free – $25 | 15 min | Eyes, head, neck |
| Micro-break timer habit | Free | 2 min | Full body, energy levels |
| Declutter desk space | Free – $20 | 10 min | Posture, focus |
The Total Cost of a Better Home Office
One of the most common misconceptions about ergonomics is that it involves an expensive standing desk or a $1,200 chair. In fact, for nearly every big problem you encounter, the solution is small and inexpensive tweaks.
Here’s a realistic budget breakdown based on those fixes:
| Scenario | What You Buy | Estimated Cost |
|---|---|---|
| Zero-budget fix | Books for monitor, rolled towel for lumbar, repositioned keyboard | $0 |
| Budget upgrade | Monitor riser + lumbar cushion + desk lamp | $60–$80 |
| Full ergonomic refresh | Adjustable chair + monitor arm + external keyboard + desk pad | $150–$200 |
Ergonomics Checklist — Print This Out and Tape It Up
- ☐ Top edge of monitor is at or near eye level
- ☐ Feet are flat on the ground (or on a footrest)
- ☐ Knees bent to approximately a 90-degree angle
- ☐ Lower back is supported against the chair
- ☐ Elbows stay close at your sides while typing
- ☐ Wrists are neutral (not upwardly or downwardly bent) during typing
- ☐ Window or bright light is positioned to the side — not behind the screen
- ☐ Screen brightness is lowered to match room lighting level
- ☐ Break timer set for every 30–45 minutes
- ☐ Desk isn’t littered with items that make you twist or reach
Got a Question About Home Desk Ergonomics?
How soon will I feel a difference after making ergonomic changes?
The majority of people experience improvement within one to three days once they make the proper changes. Some fixes — such as adjusting your monitor height — lead to relief within hours. Postural improvements at a deeper level can take one to two weeks as your body gets used to the improved position.
Do I have to buy an expensive standing desk to make my remote desk setup better?
No. A standing desk can assist, though it’s not vital. The majority of the discomfort we experience from working at a desk remotely comes not from sitting but from how we are positioned when doing so. Adjusting the height of your monitor, for instance, or your chair and taking breaks when needed tackles the causes without buying a new desk.
What is the number one remote desk life ergonomic fix?
If you do nothing else, adjust the height of your monitor. Neck strain from peering down at a screen all day spills into headaches, shoulder tension and upper back pain. Lifting your monitor to eye level is free, takes five minutes and has more impact than any other single change.
My back hurts even after these changes. What should I do?
If discomfort continues with ergonomic improvements, it is worth speaking to a physiotherapist or physician. Some pain has drivers that changes in the workspace alone cannot fix. But maintaining good ergonomic practices will at the very least stop it from worsening.
Are these ergonomic remedies also effective for headaches?
Yes. Many of the remote work headaches we suffer from are due to eye strain (from glare and screen brightness) and neck tension (due to bad monitor height). Fixing your lighting setup and raising your monitor are the two changes you’ll notice a difference with most right away.
Sitting vs standing while working from home — which is better?
Neither one, however, is perfect on its own. The ideal is variation — sitting a bit, then standing, then moving. If you don’t have a standing desk, simply standing up for your phone calls and taking regular walking breaks gives you most of the same benefits.
How do these remote desk life ergonomic hacks translate to laptop users?
Laptop users have a special dilemma: The screen and keyboard are combined, so if you raise the screen, you’re raising the keyboard as well — which is terrible for your wrists. The solution is to lift the laptop up on a stand to eye height and attach an external keyboard and mouse at desk height. One of the more impactful setups for laptop-based remote workers.
The Takeaway: Little Changes, Big Impact
The remote desk life comes with real physical challenges. But none of this is a fait accompli.
No one should have to suffer with neck pain, back aches and tired eyes just because you work from home. The seven ergonomic alterations described in this piece can all be done without a large budget, or undertaking a home renovation.
Begin with monitor height — it’s free and takes five minutes. Then, work your way to the bottom of the list. Keep a log of how your body responds after every adjustment.
The aim is straightforward: a workspace that nurtures your body alongside your work. With these remote desk life ergonomic fixes in place, you should be able to wrap up each workday feeling energized — not wrecked.
Starting today will pay off in the long run.