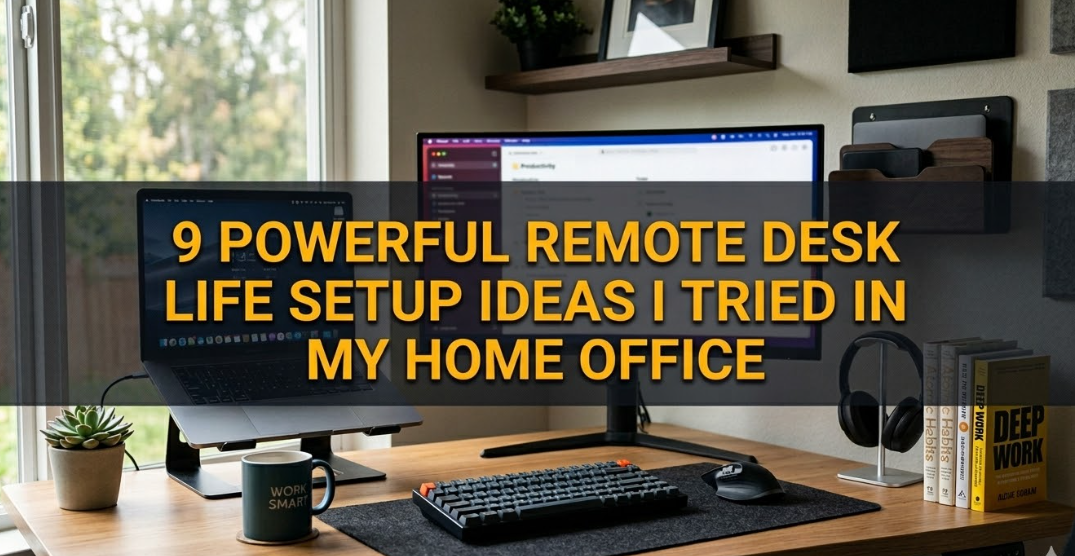
I still remember the day I looked at my home office and felt genuinely embarrassed. Not because someone was visiting — but because I couldn’t stand looking at it anymore. There were three coffee mugs competing for space with two monitors, a tangle of cables that looked like it belonged in a server room, random sticky notes stuck to everything, and somewhere underneath all that chaos was my actual desk.
That was about two years ago. And honestly, that mess was killing my productivity without me even realizing it.
I’d sit down to work and spend the first 15 minutes just clearing enough space to open my notebook. My brain felt cluttered before I’d even started. Sound familiar?
What followed was a slow, trial-and-error obsession with building a cleaner, calmer workspace. Not minimalist in the “one plant and a MacBook on a marble slab” Instagram way — but actually functional minimal. The kind where everything has a reason to be there, and nothing is just… hanging around.
Here’s what actually worked.
1. Start With a “Zero-Base” Desk Clear — Then Only Put Back What Earns Its Spot
The single most impactful thing I did cost zero dollars.
I pulled everything off my desk. Every monitor, every cable, every pen cup, every decorative item. Completely bare surface. Then I waited a day before putting anything back.
That gap — that one day — changes how you think about each item. Instead of asking “does this need to go?” you ask “does this deserve to come back?” It’s a subtle shift but it hits different.
When I rebuilt my setup, I applied one rule: if an item doesn’t contribute to getting work done, it lives somewhere else. My secondary laptop? Moved to a shelf. The printer I used twice a month? Gone to the closet. The pen holder with 23 pens and 2 that actually work? Replaced with a small magnetic strip holding just 3.
What to keep on the desk:
- Monitor(s) — obviously
- Keyboard and mouse
- Lamp (good lighting is non-negotiable)
- One small notepad + one pen
- Whatever you use every single day
That’s the baseline. Everything else earns its space through daily use. Not weekly. Daily.
One mistake I made early on was keeping things “just in case.” A stapler. Tape. A ruler. These things sat there for weeks doing nothing but collecting dust and visually cluttering my space. Store them in a drawer or a nearby box — you’ll grab them when you need them and it takes five seconds.
2. Cable Management Is the Difference Between “Desk” and “Disaster”
Nobody talks about how much psychological weight messy cables carry. You don’t consciously notice them, but your brain registers the chaos and it adds to mental fatigue throughout the day.
My cable situation was genuinely bad. Power strip on the floor, USB hub balanced on a monitor stand, charger cables draped over everything. It looked like spaghetti.
Here’s the system that actually cleaned it up:
Step 1: Cable clips + velcro ties These are dirt cheap on Amazon (I’m talking under $10 for a pack). Use adhesive cable clips to route cables along the back edge of your desk. Use velcro ties — not zip ties, because you’ll want to adjust things — to bundle cables together.
Step 2: Under-desk cable management tray This was a game changer. A simple metal or fabric tray that mounts under your desk hides your power strip and most of your cable bulk. Suddenly the floor beneath your desk is clear and the desktop has almost no visible cables.
Step 3: A single USB-C hub If you’re running multiple peripherals, one good USB-C hub (I use a 7-in-1 from Anker) reduces the number of cables going directly into your laptop dramatically. One cable in, everything out.
Step 4: Label your cables Sounds boring. Genuinely useful. Little cable label tags (or even just colored tape) mean you never spend 4 minutes tracing which cable goes where.
If you want a deeper dive into this, 6 Proven Remote Desk Life Cable Management Tricks That Look Clean is one of the most practical guides I’ve come across — it covers routing strategies I hadn’t even thought of.
3. The “One Zone, One Purpose” Layout Strategy
This one changed how I actually use my desk, not just how it looks.
Most people treat their desk as one big surface. But dividing it mentally — and sometimes physically — into zones makes a huge difference.
Here’s how my desk is zoned:
| Zone | What Lives Here | Why |
|---|---|---|
| Primary Work Zone | Monitor, keyboard, mouse | Eyes forward, hands ready |
| Reference Zone | Notepad, pen, current project notes | Right side, arm’s reach |
| Secondary Zone | Nothing permanent | Left side stays clear for documents, coffee, thinking space |
| Off-Desk Zone | Everything else | Drawer, shelf, or cabinet |
The key insight is that your primary zone should take up maybe 60% of your desk. The rest should stay mostly clear. Not because minimalism looks pretty — but because you need physical space to think, spread out a document, or just rest your eyes on something that isn’t a screen.
I used to pile things to my left “temporarily.” Those piles became permanent fixtures within days. Now that zone is intentionally empty, and I protect it like it matters — because it does.
For small home offices especially, this zoning approach helps you get maximum use from limited space. If you’re working with tight square footage, 7 Essential Remote Desk Life Workspace Setup Tips for Small Homes covers this in practical detail.
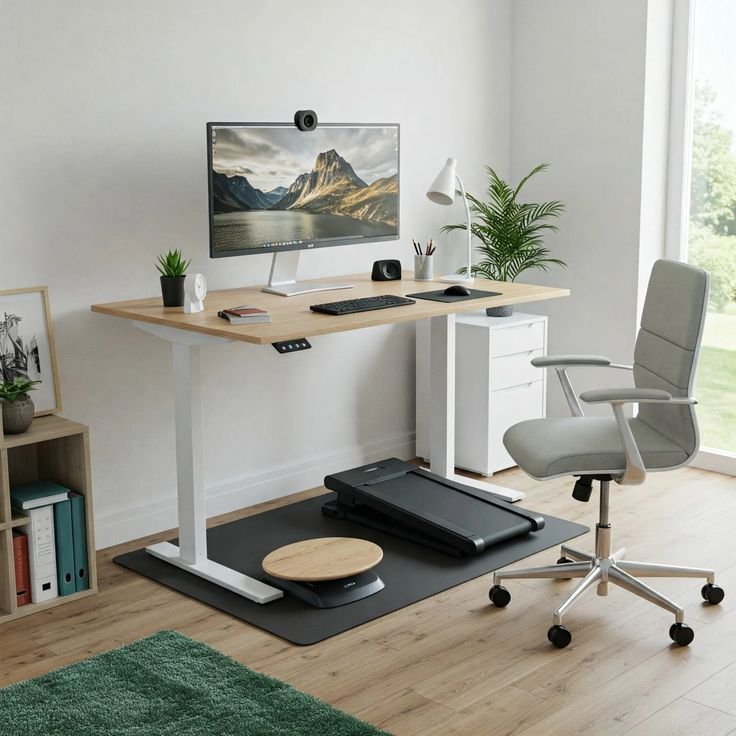
4. Go Vertical — Storage That Doesn’t Eat Your Desk
Floor space is limited. Desk space is precious. But vertical space? Usually completely ignored.
Once I started thinking vertically, I found storage I didn’t know I had.
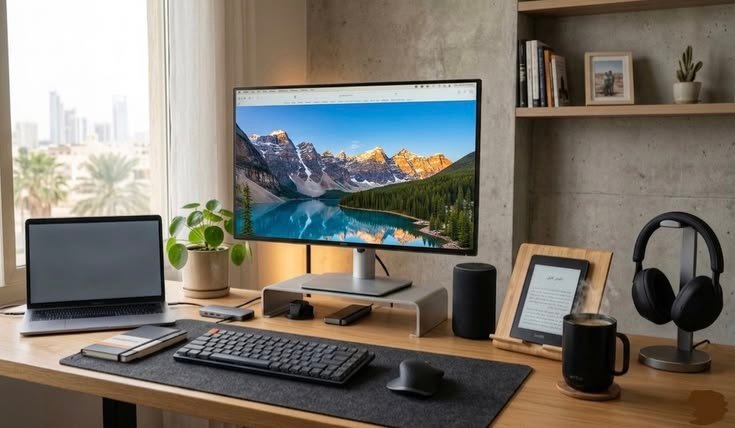
Monitor stand with storage underneath Most monitor stands are hollow or have shelving. I use a bamboo stand that has a small drawer underneath — it holds my USB hub, a charging cable, and a few small items I need daily. My monitor sits higher (better for neck ergonomics too), and I reclaimed a strip of desk space that was previously just… there.
Pegboard wall panel This sounds like something from a garage workshop, but small desk pegboards are having a real moment in home office design. You can mount small shelves, hooks, and organizers on it — and everything that would normally be on your desk moves to the wall. I put my headphones on a hook, my small speaker on a shelf, and a few sticky note pads on clips. Desk stays clear.
Floating shelves above the desk This one took some drilling, but two small shelves above my monitor hold books I reference, a small plant, and my router (which was previously just sitting on the floor). Clean, accessible, out of the way.
The mistake most people make is buying more desk organizers that sit on the desk and take up space. That’s solving the wrong problem. You don’t need more containers on your surface — you need to move storage off the surface entirely.
5. Lighting Isn’t Just Functional — It Sets the Whole Tone
I’ll be honest: I underestimated lighting for way too long.
For the first year of working from home, I used whatever overhead lighting the room had. A flat, harsh ceiling light that made everything look like a hospital waiting room. I didn’t think it mattered until I switched it up and realized how much my energy and mood shifted.
Here’s what a good lighting setup for a minimal workspace actually looks like:
Key light (your main work light) A quality LED desk lamp with adjustable color temperature is worth every cent. I use the BenQ ScreenBar — it mounts on the monitor, doesn’t take desk space, and lights your workspace without creating screen glare. Color temperature matters: 4000–5000K is ideal for focus during the day. Warm tones (2700–3000K) in the evening feel less harsh.
Bias lighting behind your monitor LED strips behind your monitor (Govee makes great budget-friendly ones) reduce eye strain significantly during long work sessions. It softens the contrast between your bright screen and dark room. Looks clean too — especially in a minimal setup.
Natural light positioning Place your desk perpendicular to a window, not facing it (glare) or with your back to it (shadow on screen). This is one of those small tweaks that sounds obvious but most people still get wrong.
The lighting overhaul cost me maybe $80 total. The difference in how I feel at my desk after a 6-hour session is not subtle.
6. Build a Reset Ritual — Maintain the Minimal Look Daily
Here’s the part nobody tells you: getting your desk to look clean is easier than keeping it clean.
The first time I did a proper desk clear, it looked great for about four days. Then slowly, bit by bit, it returned to entropy. A charger here. A snack wrapper there. A pile of receipts that “I’ll deal with later.”
What actually worked was building a 5-minute end-of-day reset ritual.
My daily desk reset routine:
- Clear anything that doesn’t belong (trash out, items returned to their home)
- Coil and tuck any cables that got pulled out during the day
- Close all browser tabs and shut down or sleep the computer
- Wipe the desk surface quickly with a microfiber cloth
- Position keyboard, mouse, and notepad back in their spots
That’s it. Five minutes. But doing it every single day means your desk never gets to the point of chaos. You’re catching entropy early, before it compounds.
I also do a bigger 20-minute organization session every Sunday. That’s when I sort any papers, clean the monitor, reorganize the reference zone, and check if anything new has crept onto my desk that shouldn’t be permanent.
There’s a concept I came across that really clicked for me: 9 Easy Remote Desk Life Decluttering Rules for Remote Workers — it frames decluttering as a habit, not an event. That reframe is genuinely useful.
Common Mistakes That Undo All Your Hard Work
A few things I see (and have personally done) that sabotage a clean minimal setup:
Buying organizing products before decluttering. This is the big one. You buy a beautiful desk organizer, fill it with stuff, and now you have an organized mess instead of a clean desk. Declutter first. Buy storage second — and only if you actually need it.
Keeping “aspirational” items on your desk. The book you’re “going to read.” The guitar pick from the hobby you’re “going to get back into.” These aren’t work items. They’re guilt objects. Put them somewhere else.
Cable management as an afterthought. If you set up your desk and then try to manage cables, it’s twice as hard. Think about cable paths while you’re setting things up.
Going too minimal. This surprised me. I once went so stripped-back that I had no reference materials, no second monitor, and no comfortable extras. I was so focused on the look that the setup stopped being functional. Minimal means nothing unnecessary — not nothing at all.
Ignoring ergonomics in favor of aesthetics. A beautiful desk that hurts your neck after two hours isn’t a good desk. Monitor height, chair height, keyboard angle — these matter more than how the setup photographs.
The Real Benefit Nobody Mentions
When I finally got my workspace to a place where it felt genuinely clean and calm, something unexpected happened.
I started enjoying going to work in the morning.
Not in a fake, motivational-poster way. But in a real, tangible “I actually want to sit here and get things done” way. The friction was gone. The visual noise was gone. I’d sit down, everything was in its place, and I could just… start.
That’s the actual payoff of a well-organized minimal workspace. Not the Instagram photo. Not the Pinterest board. The 8 hours of focused work that happens when your environment stops fighting you.
If there’s one place to start, pick just one of these six ideas — the cable management one if you’re in chaos mode, the zone layout if things are semi-organized already. Small change, compounding results.
Want to take your workspace comfort to the next level? Check out 8 Proven Remote Desk Life Comfort Hacks for Long Work Hours — it covers some underrated upgrades that make a real difference when you’re clocking serious hours at your desk.